Raised Veggie Beds
At the start of the pandemic lockdown in March of 2020, we decided it would be best to expand our veggie beds in order to:
1. Save money by growing some of our own food and
2. Ensure there is food to be had.
To do this we also needed to have raised veggie beds since the dogs have a habit of running through and ruining anything else we do. Besides just being functional, we also wanted them to look nice since they would play a pivotal function in the backyard and be easily noticeable by anyone walking by or visiting. We also didn't want to spend a ton of money.
So this is what we came up with. I included the step-by-step instruction booklet I made for someone else who was interested in making their own based on what I did, but I can assure you, I am no expert and there are likely better methods at going about this since I did this entirely out of my own head based on what the wife had requested.
I started out with framing them to make sure that they weren't too big for the space, but also that my construction techniques would work. I ended up having to take them completely apart joint by joint because the redwood was too brittle to screw directly through and I ended up using outdoor braces similar to the ones I used on the deck construction.
The plan was to make them weather resistant, hence the redwood, but we also didn't want toxic chemicals so we couldn't use pressure treated wood. And to make them big enough we added the metal panels so it wasn't 100% plywood. Laying them out here, we decided the letter "E" configuration would allow for the greatest access to the entire bed while still allowing maximum veggie growing space.
Slowly connecting the various sections after leveling them. The ground was slightly sloped, so although the middle and right bed approximately line up, the left bed was on an angle.
So I needed to lift it up and level out the ground. Luckily they were built sturdy enough that I could do this fairly easily.
Once the main beds were level I could connect them together. The left bed is not actually level with the other two beds but the connecting section slopes to connect them together.
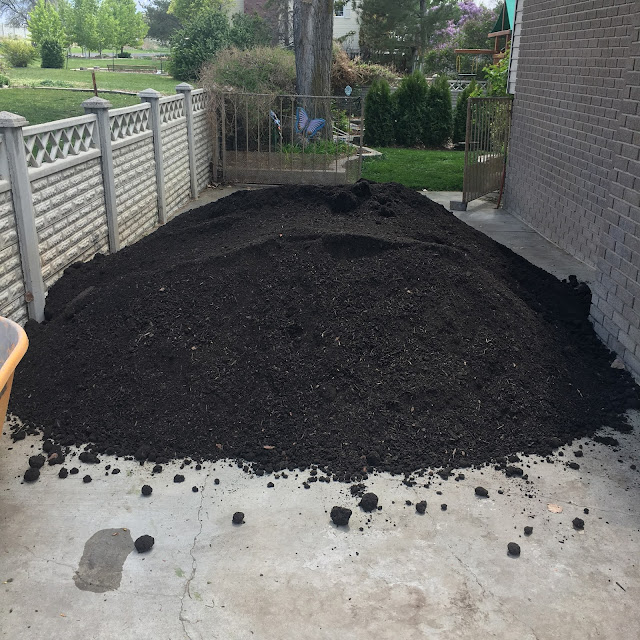
Once construction was done, it was time to add the soil. We got enough soil to fill them, however, over time the soil compacted so it only ended up half full by the end of the year.
Soil!
Once the soil was filled in we were able to fill in pea gravel around the beds. And I could also hook up the sprinkler line. The beds actually got placed right on top of a sprinkler head so I was able to remove the head and run a new sprinkler line up through the dirt so that a small sprinkler system could be installed within the beds. This would allow a constant supply of water in the rather dry Utah climate.
And from here we were able to plant several veggie plants that were all seperated out and well watered. It actually worked really well. The back of the beds had a trestle system for climbing plants like tomatoes or green beans with lights installed on top.
Flower Bed Construction Guide
The following 5 images are the pages to the construction guide I created. Just right click and save as you need.


No comments:
Post a Comment