Continuing my never ending quest to rebuild everything, we rebuilt our backyard in 2018 by installing a deck in what was once a concrete patio. I don't have any "before" pictures but some of the pictures in process are early enough that you can get an overview of what it looked like at the start.

As with all our projects, this one started off with a sketch by my wife. And as is always the case, the sketch turned into an almost exact drawing of what the deck eventually became.

After the sketch of the deck, we built a deck on the Lowe's deck building site (which was generally the best one we could find). This gave us an overview of how much materials we would need as well as general look of the deck. We eventually decided that we wanted to build the deck out of Trex, which would last much longer and not need yearly sanding and staining that wood decks would require.

In order to put in the deck though, we needed to start removing some of the concrete that was around the back. The piece piece to go was this walkway which had a giant crack through the middle of it. During the winter, water would get under this pad and actually lift it up in the middle by about 4 or 5 inches. Luckily it wasn't connected to the house at all and we could just smash it away.

Another block gone.

And another block.

Last block removed.

Instead of concrete, we decided pea gravel would make a nice walkway, and it would tie into the walkway already laid down in the front of the house.

This back part of the garage was going to be tricky since the deck needed to attach directly through the wood instead of through the concrete foundation of the house.

In order to do this I needed to remove most of the inside of the wall from inside the garage. We also were going to install an outlet to the outside since currently I was just running an extension cord through the wall. This way it would be much neater.

We also needed to completely redo the sprinkler system. For this I actually hired people. It's the only aspect of this that we didn't do ourselves.

But with the large concrete pad that extended exactly where the deck was going to go, we needed to cut into it to put in some footers. This required a bit of muscle. This was probably one of the harder parts since this part of the pad was much thicker than the walkway before. And since we were taking out small sections of it, we could just chip away at it from the edges.

But eventually we had the concrete cut away where we needed it to be. Now to dig the holes.

The holes were a combination of effort from all of us. We used big shovels, little shovels, and a rented auger to get down there. This was easily the hardest part. Due to building zone requirements these holes needed to be DEEP and big. The base of the holes needed to be 2' x 2' and 30" deep. By the time we got down there we were measuring it exactly because were were done.

The holes within the concrete also needed to be dug out after the concrete was all removed.
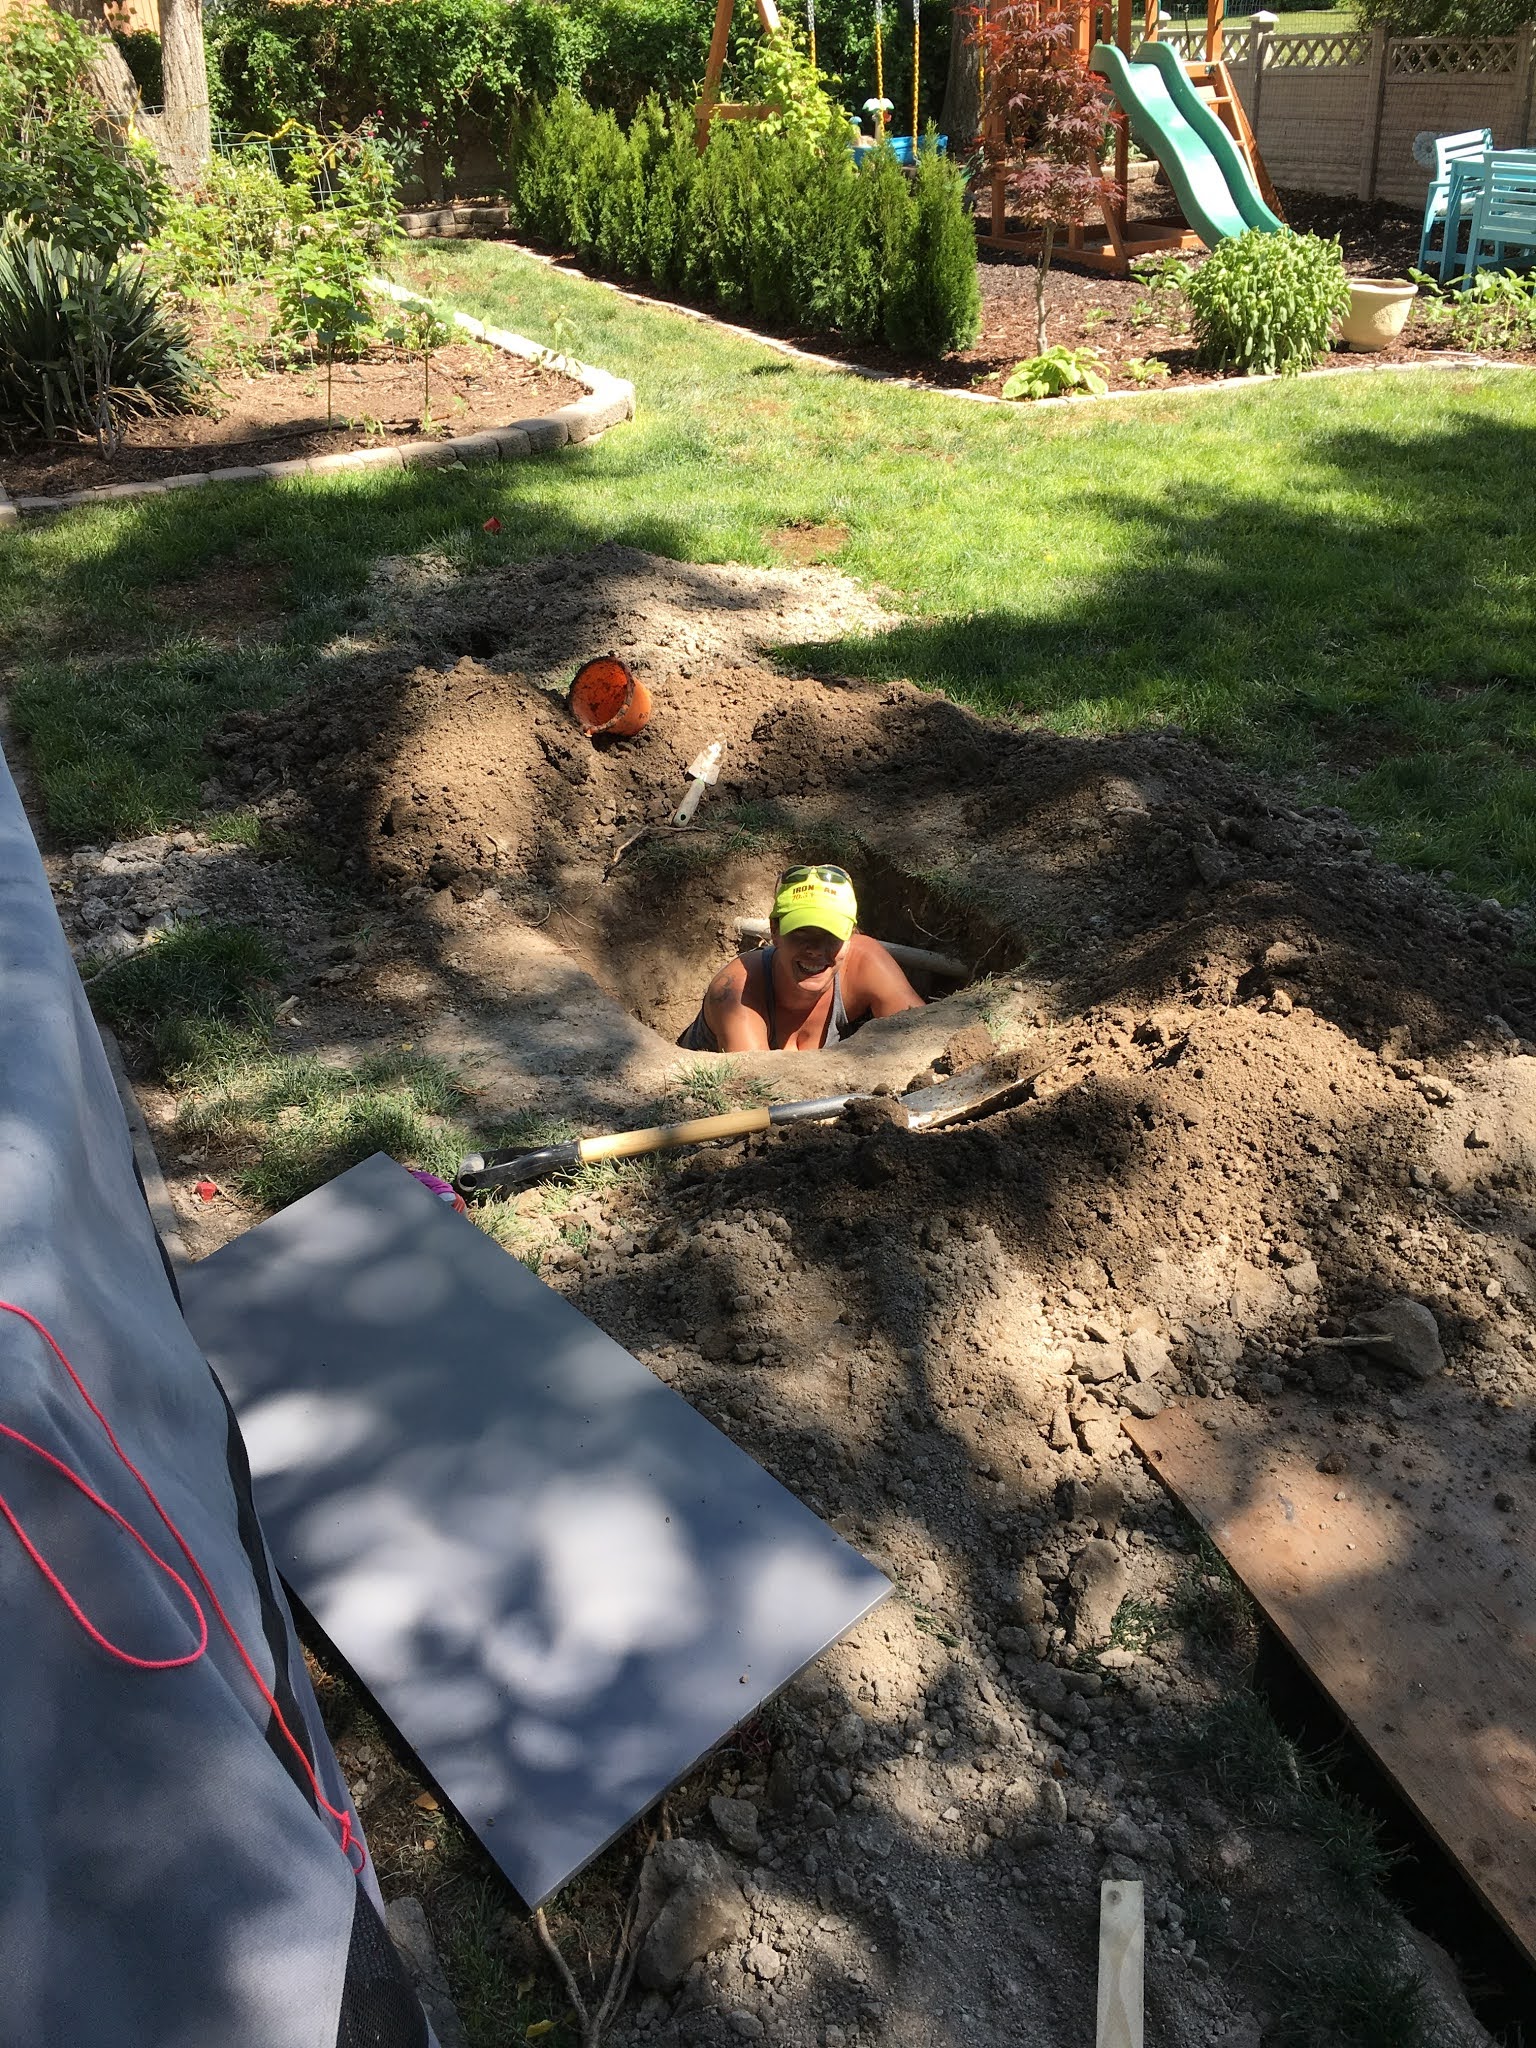
That's how big these holes were.

There's the hole auger, which helped tremendously bit still ran into issues at the deeper end of the holes. It also didn't do well near the tree because of the roots that went everywhere.

More holes.

It turned into a giant game of whack-a-mole for sure.

And with the holes and rain came a swimming pool. Luckily this was easily sucked out with a shop vac.

All the holes are finally set to go. 15ish in total with most of them being the larger holes but there were a few additional holes that could be only 1'x1'.
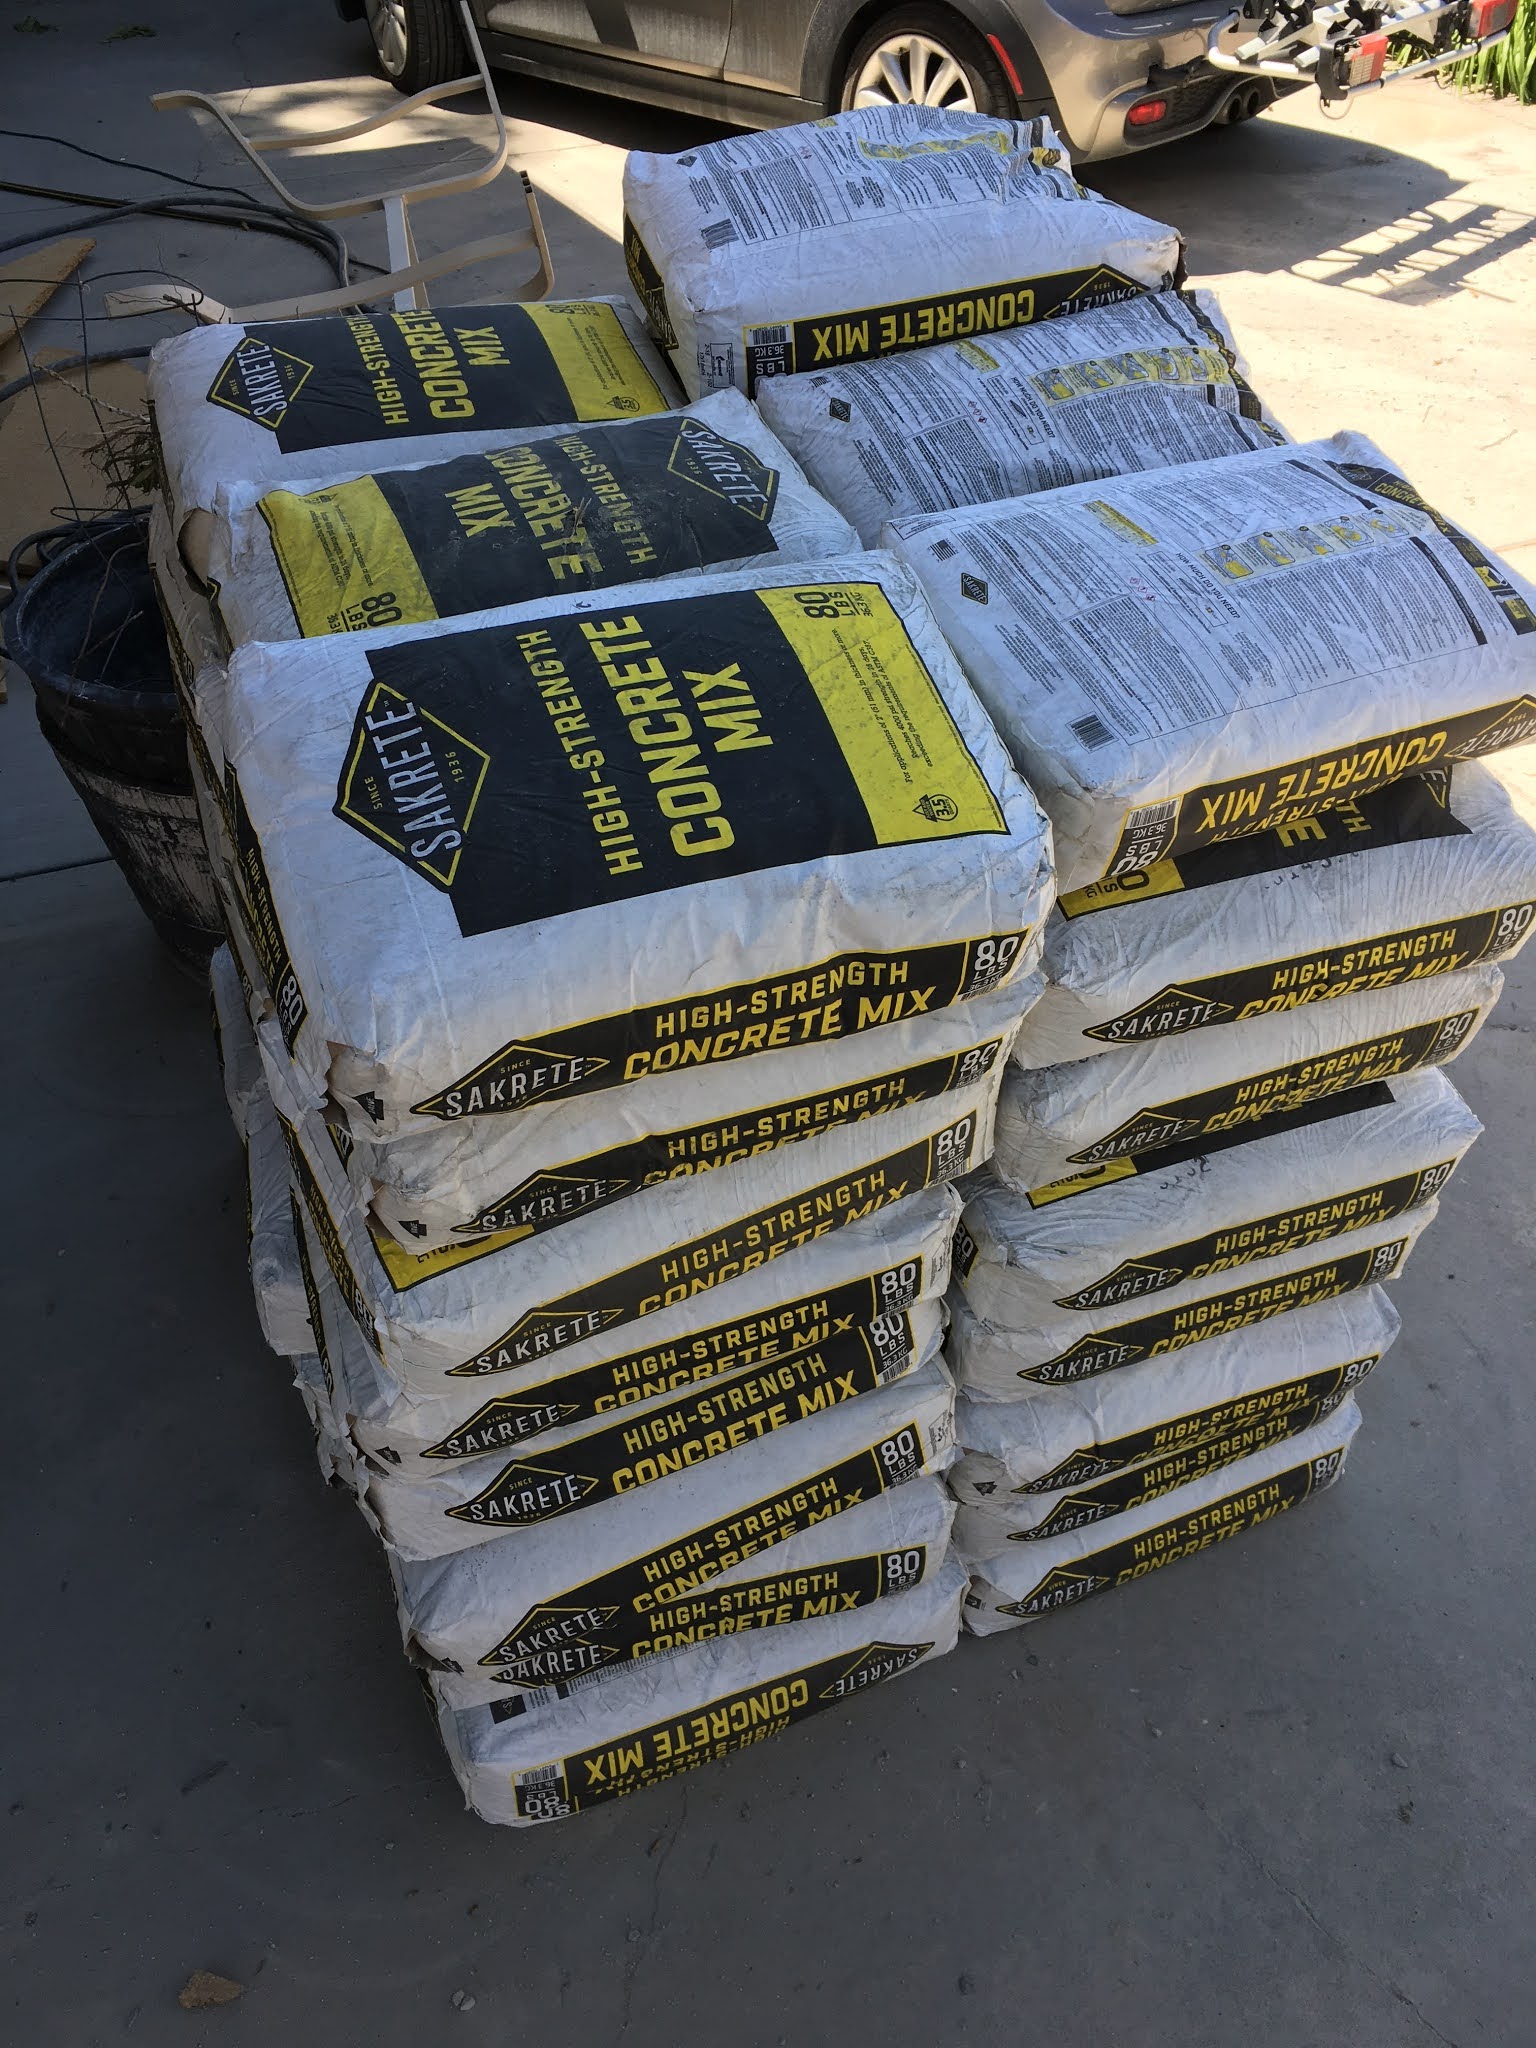
Lots of concrete needed. We rented a concrete mixing machine to get these all done.

Once the holes were done we could start installing the footers. This involved filling the concrete at the base of the holes a full 2'x2'x1', and then the top part of the footer only needed to be 12" round to the surface. That's what you see here is just the upper most part of the concrete filler.

And slowly these got filled in and installed as well. Once the concrete was put in the dirt can be filled back into the hole to cover around the cylindrical part of the footer.
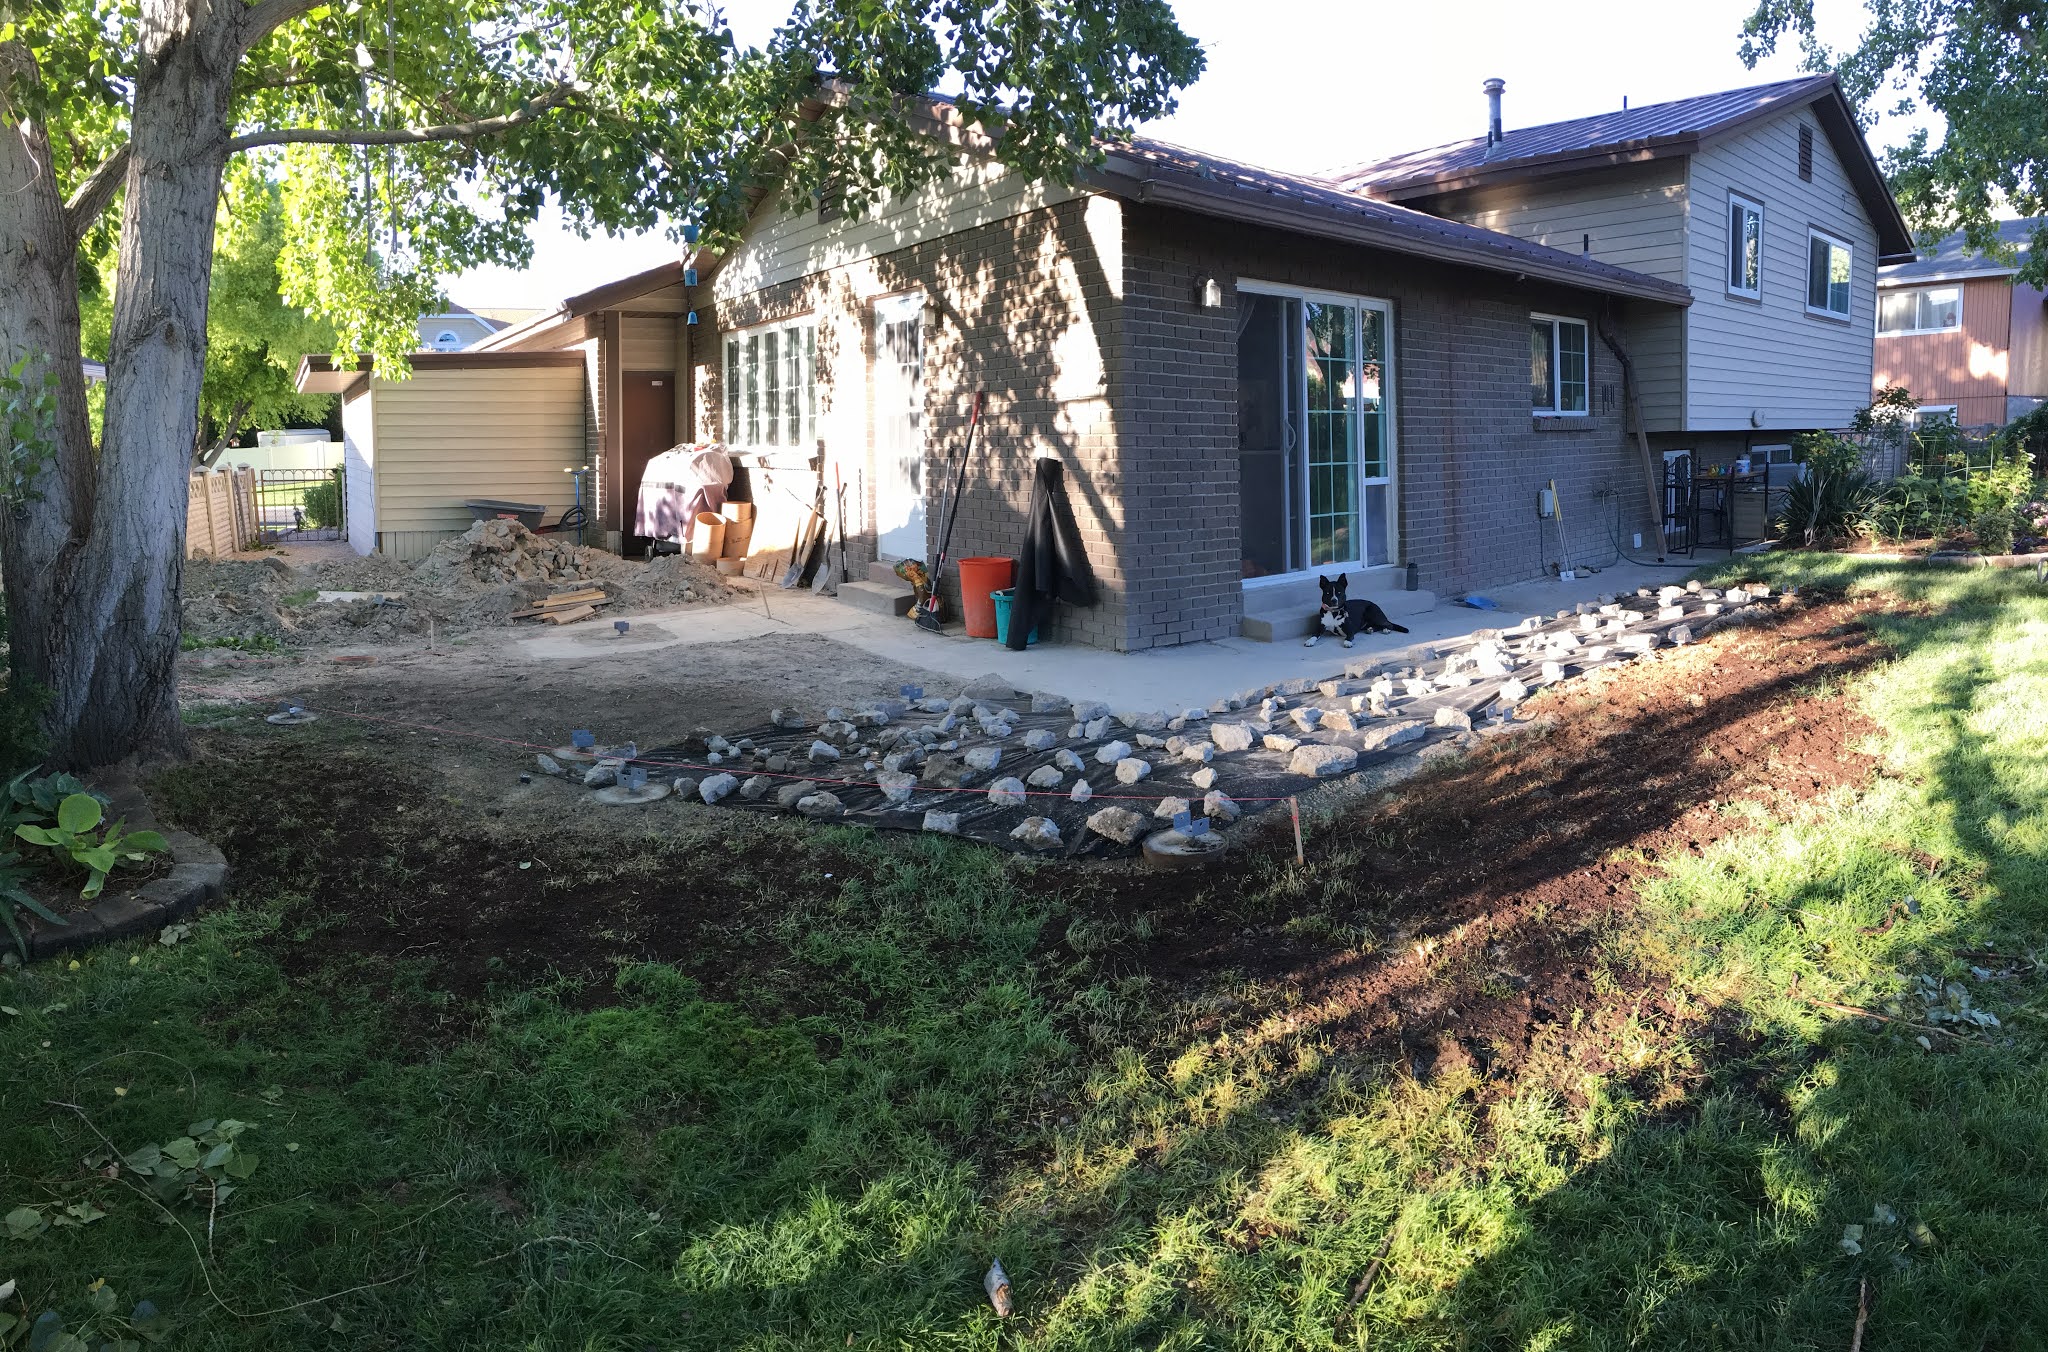
And once the dirt was down, we covered over the area with the weed tarp and used the concrete blocks to hold it down. We weren't able to get rid of the concrete blocks very easily so many of them just ended up below the deck to prevent plant growth.

Luckily I hired only the best labor.

Filling in one of the footers with concrete.
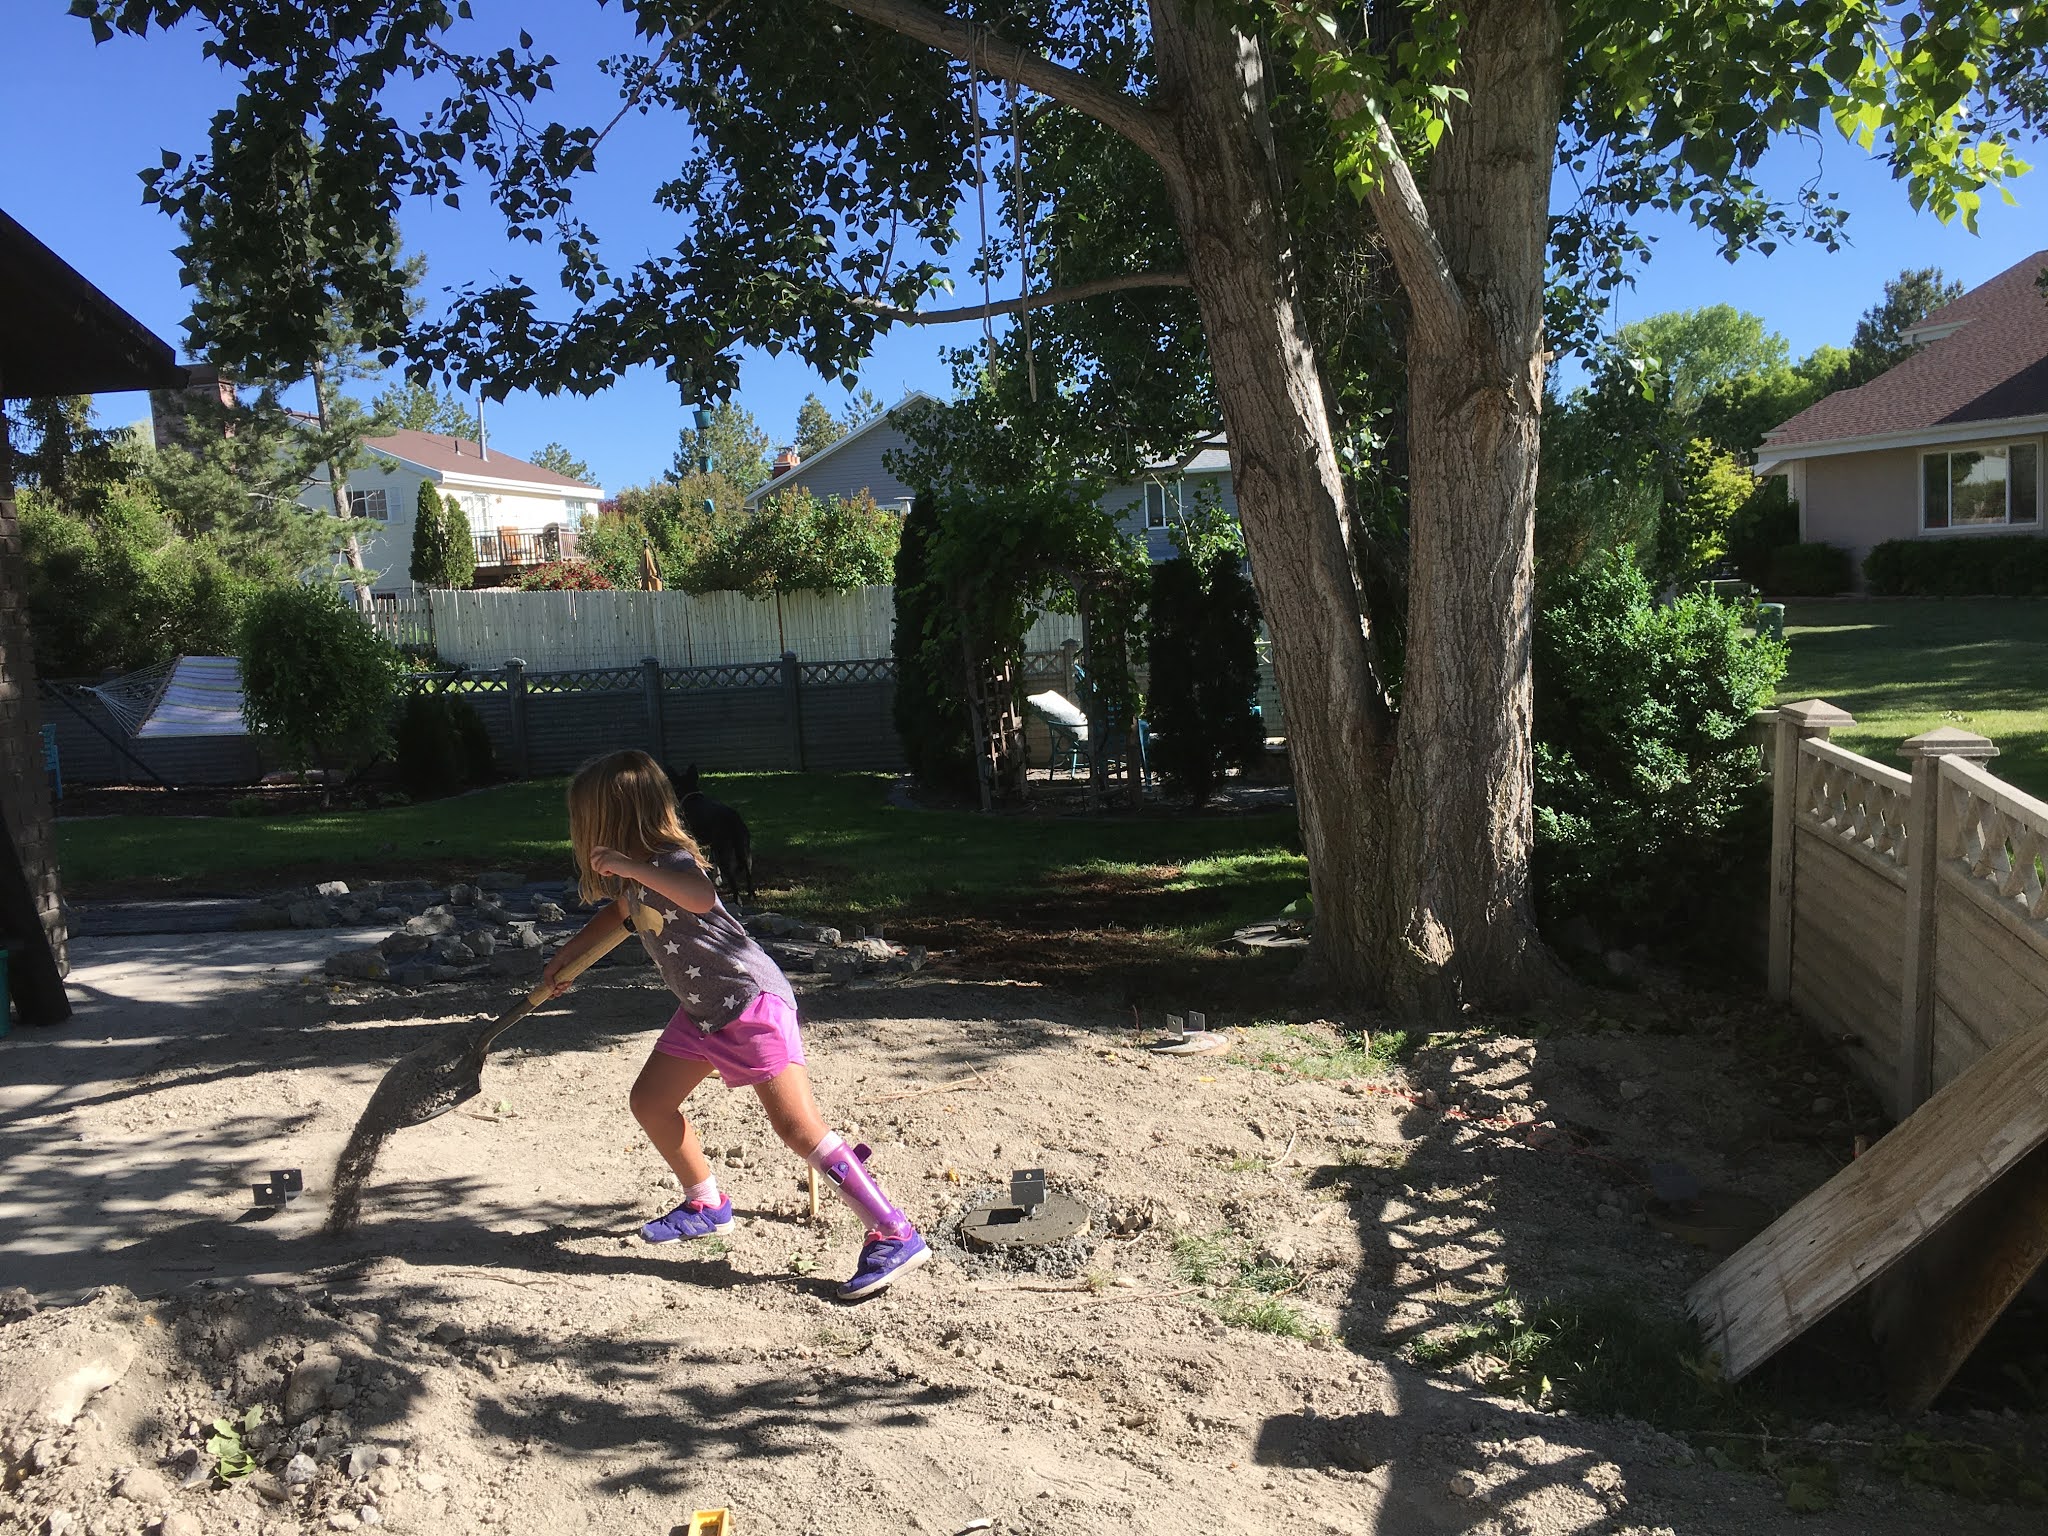
Moving dirt where it needs to go.

And getting rid of any of the extra dirt piles.

Once all the footers were installed, and the county approved of it, were were able to start framing out the deck. Note: the person who helped me design where the footers needed to go and the framing of the deck was not the same person who inspected them. The inspector, once looking over the work, may have said it was "over kill".

Framing delivery!

And time to slowly put this together. The hardest part of this was easily drilling into the foundation and anchoring it appropriately. Especially since all of the footers should be set to go at this point.

But once the house connection was done, the outer frame went pretty quickly.

More of the frame going in.

The hardest part of the frame was up against the fence. There was no room between the fence and where the deck needed to be screwed in, so adjustments needed to be made.

Luckily since the fence was a able to slide apart, I could take advantage of that and get it screwed together through the fence. This also needed to be done once the railing was installed.

And the last part of the outer frame is complete.

Now to install the cross braces.

These went even more quickly. Just plopping them in and screwing them on.

And eventually everything was framed out.

Including filling in where the deck ran up to the fence so that the decking wouldn't have a gap between the deck and the fence.

But now it is time to install the decking surface!

And these pieces are BIG.
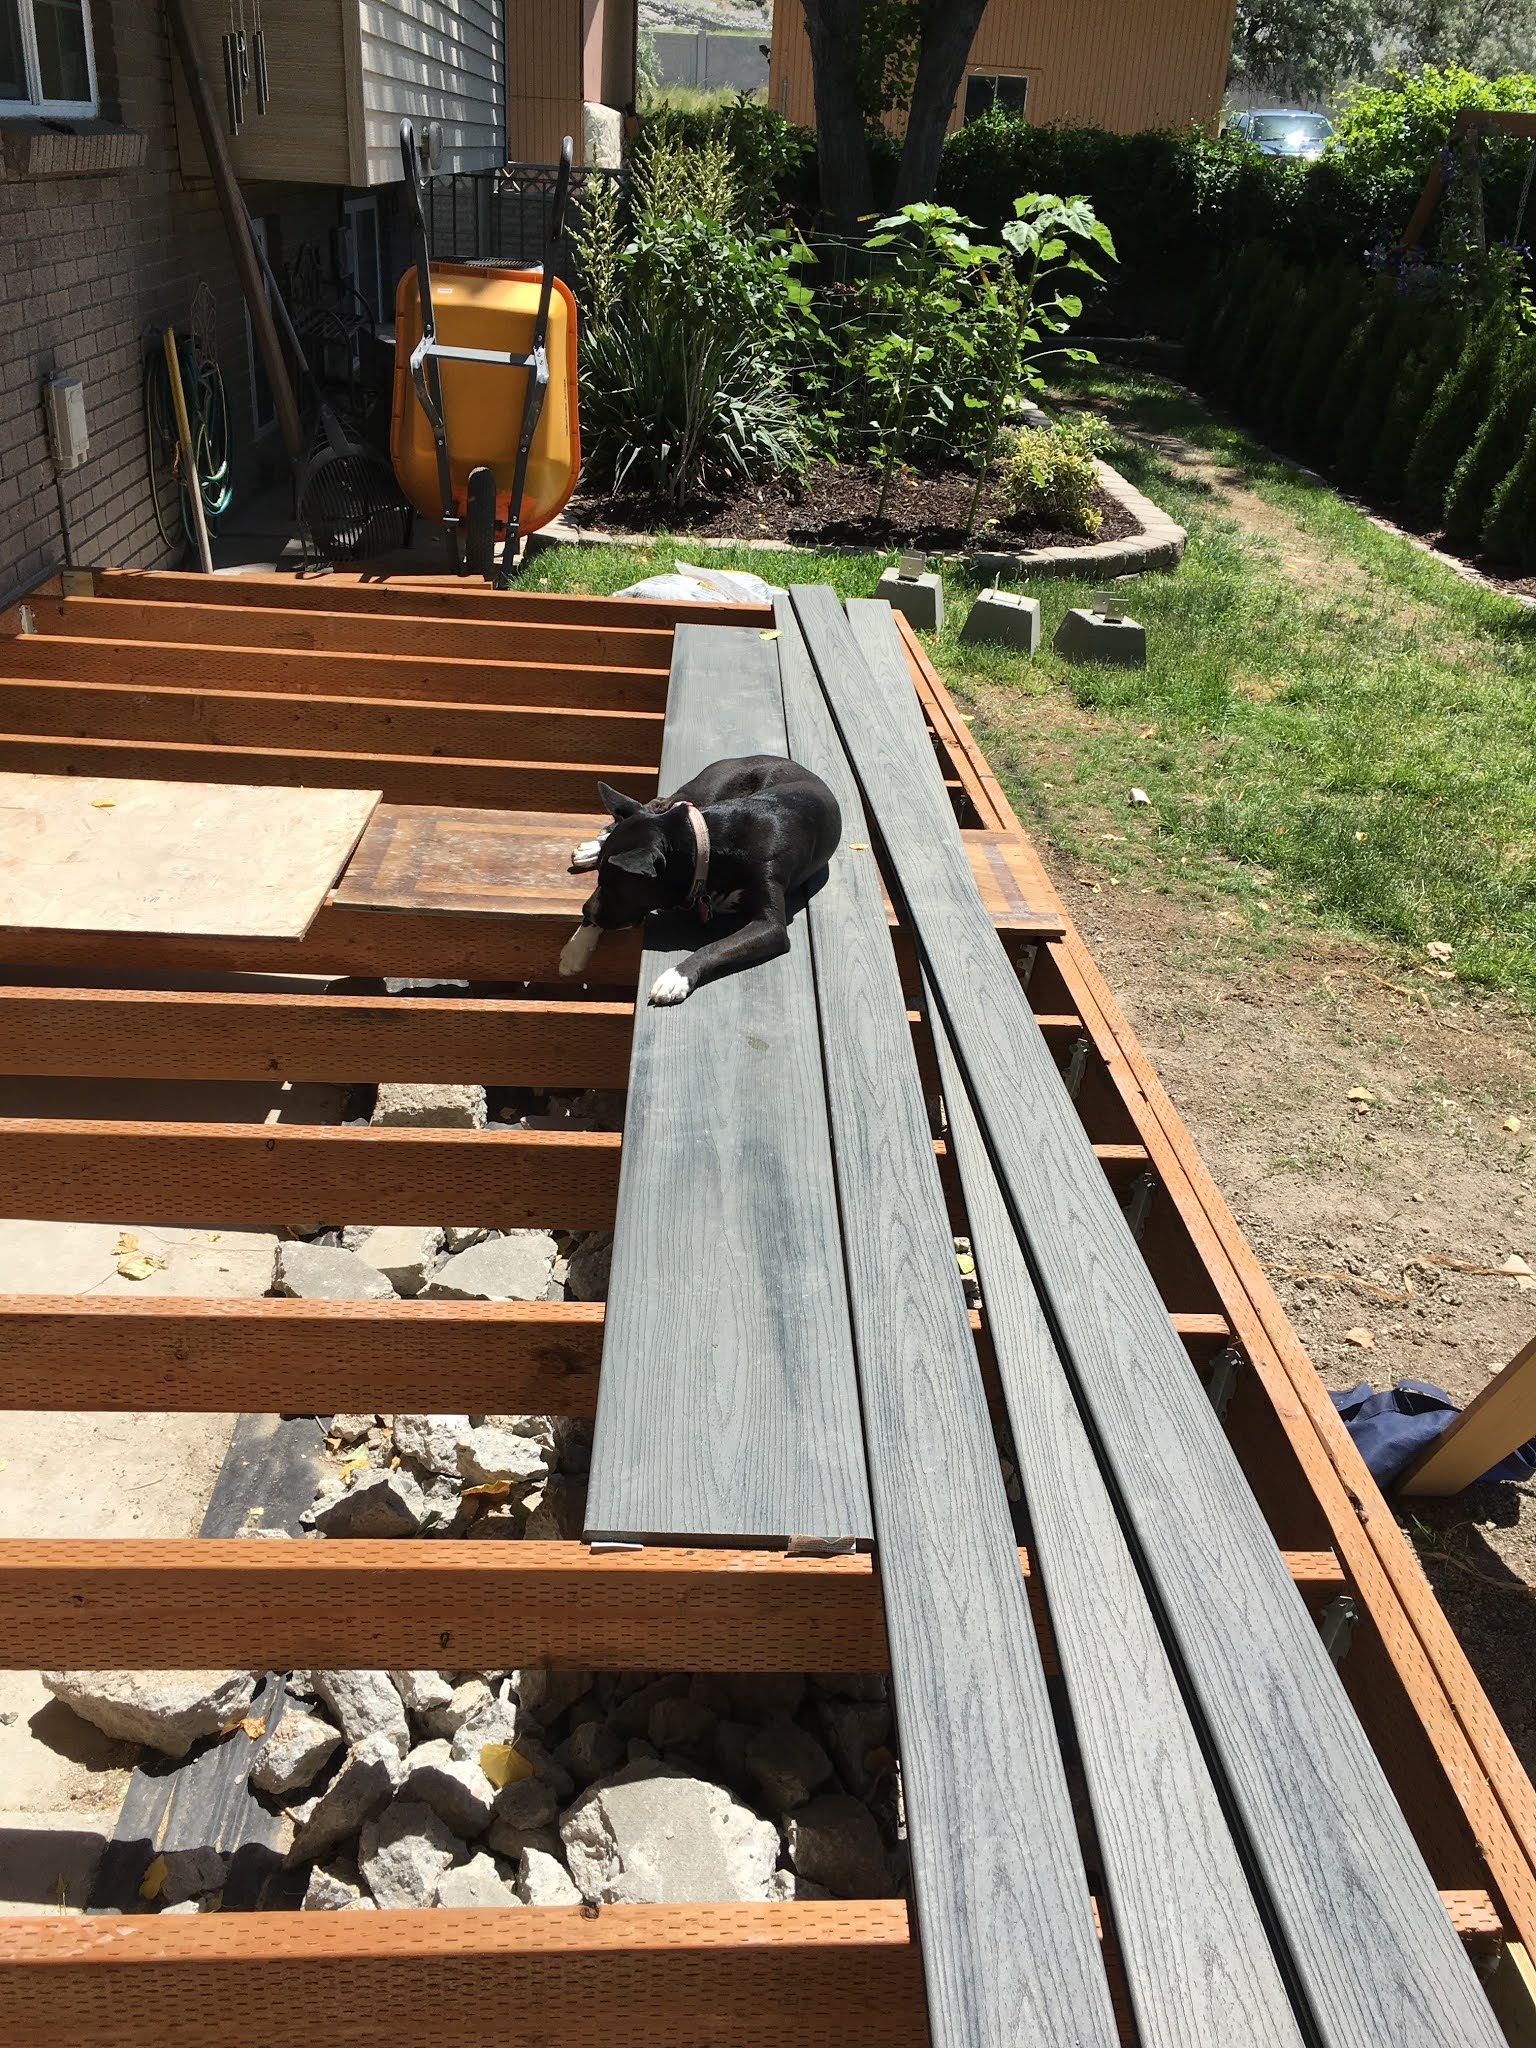
Luckily I have good help.

But again, these were fairly straight forward to install. The hardest part here was going around the sprinkler box which it the weirdly framed thing in the middle of the photo.

Continuing along.

And more.

And more.

Eventually there were 4 sets of stairs added from all of the different directions. The two easiest were the stairs off the walkway and the stairs off the garage. So those got done first, especially since they were where the deck was started first. The reason the steps don't span the entrance here is that the overhang from the roof to the left would prevent anyone from walking up the stairs there.

And here are those stairs all finished.

And here are the garage stairs.

The other two sets of stairs were a bit more challenging. These stairs went right were a major root was coming off the tree so that took some effort and then just getting the stairs set and straight took several weeks to make it look right.

While work on the deck and the stairs proceeded, I also was installing that electric box through the garage wall I mentioned. Here is a snout looking in at what I was doing.
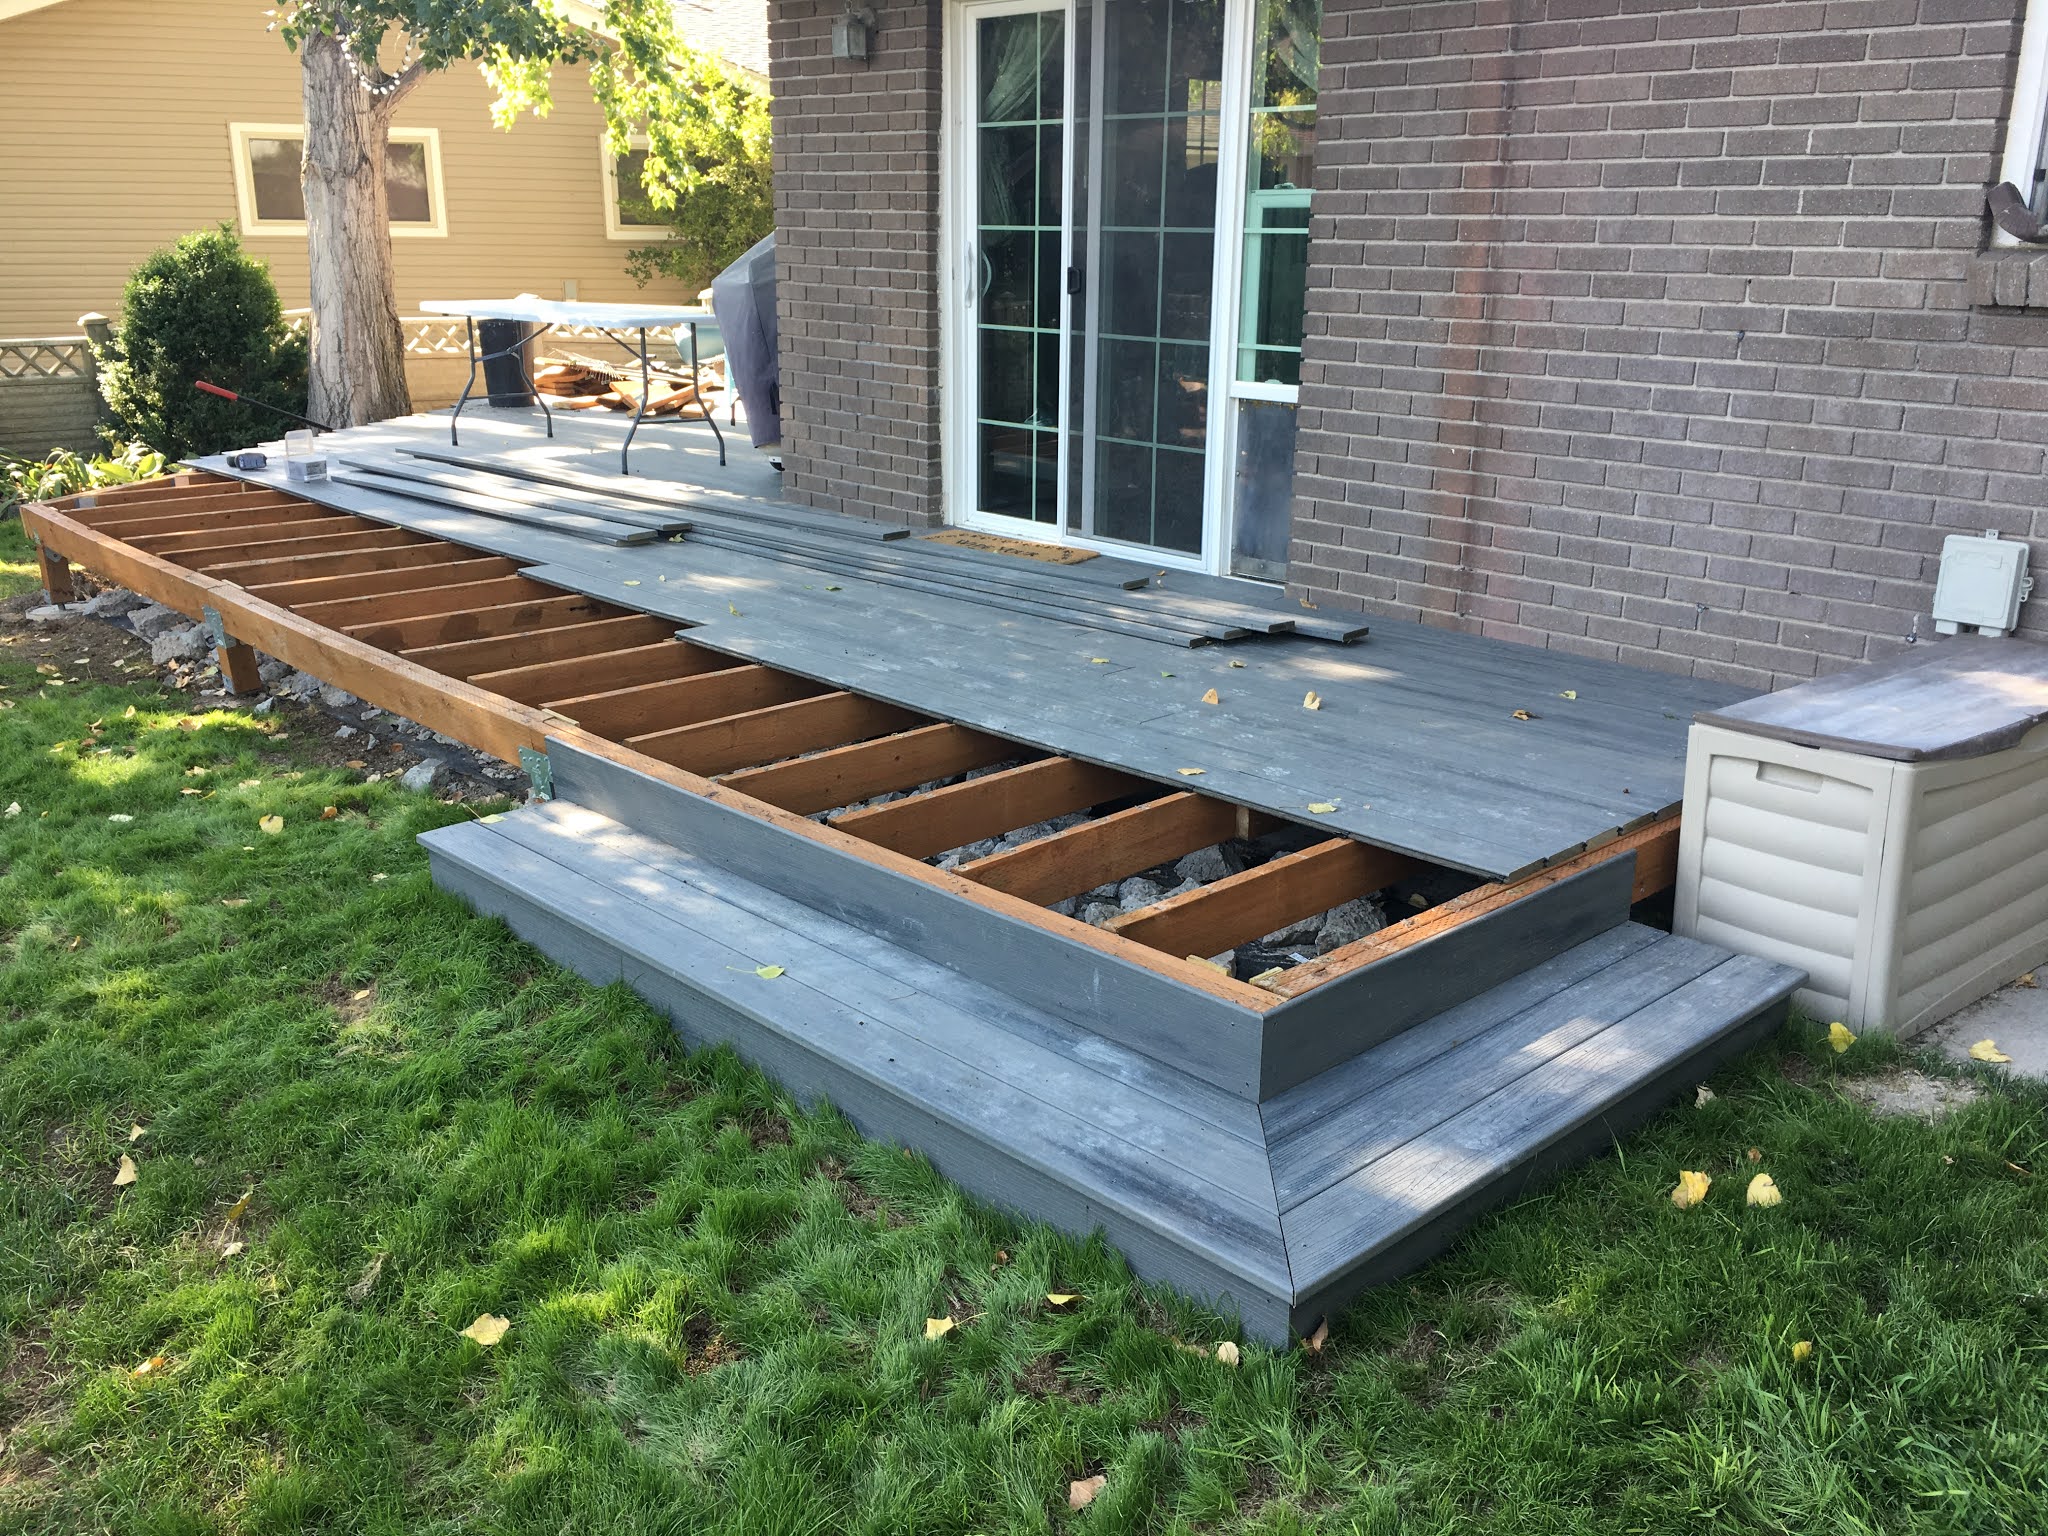
Getting close to the end. Here is also the last set of stairs that wraps around the end of the deck.

And decking complete over here with the stairs.

And eventually I was able to complete these stairs as well. The deck surface is finally completely installed and the edging deck line also done.

View of the whole front of the deck, without front boards or hand rails yet.

And the outlet box is finally finished.

Measuring out the railing.

And more deliveries. This time of the railing supplies.

Aluminum and cabling to add the aesthetic and also be "permanent" like the deck.

Hand rails slowly being installed along the edges.

More posts added.

All of the posts installed and the top rail of the railing installed. Although that is not the actual top rail. A piece of the deck will be added later.

Here is the small section of railing with the top piece.

Most of the railing installed.

View from the back with the front boards up now.

Another shot.

And one last delivery.

This last piece is a double wide railing, which will go off the back of the deck to serve as a sort of deck table.

And one of the last addition, lights.

And the last shot with the double wide railing topper.