Next up on the remodel list was the Master Bathroom. I started working on the bathroom in November of 2018 and it was officially deemed finished about a year later in ~November of 2019. The bathroom needed a lot of work. The floor was vinyl and may have been original to this 1970's house, not to mention everything in there was falling apart so a complete gut was necessary.
Before
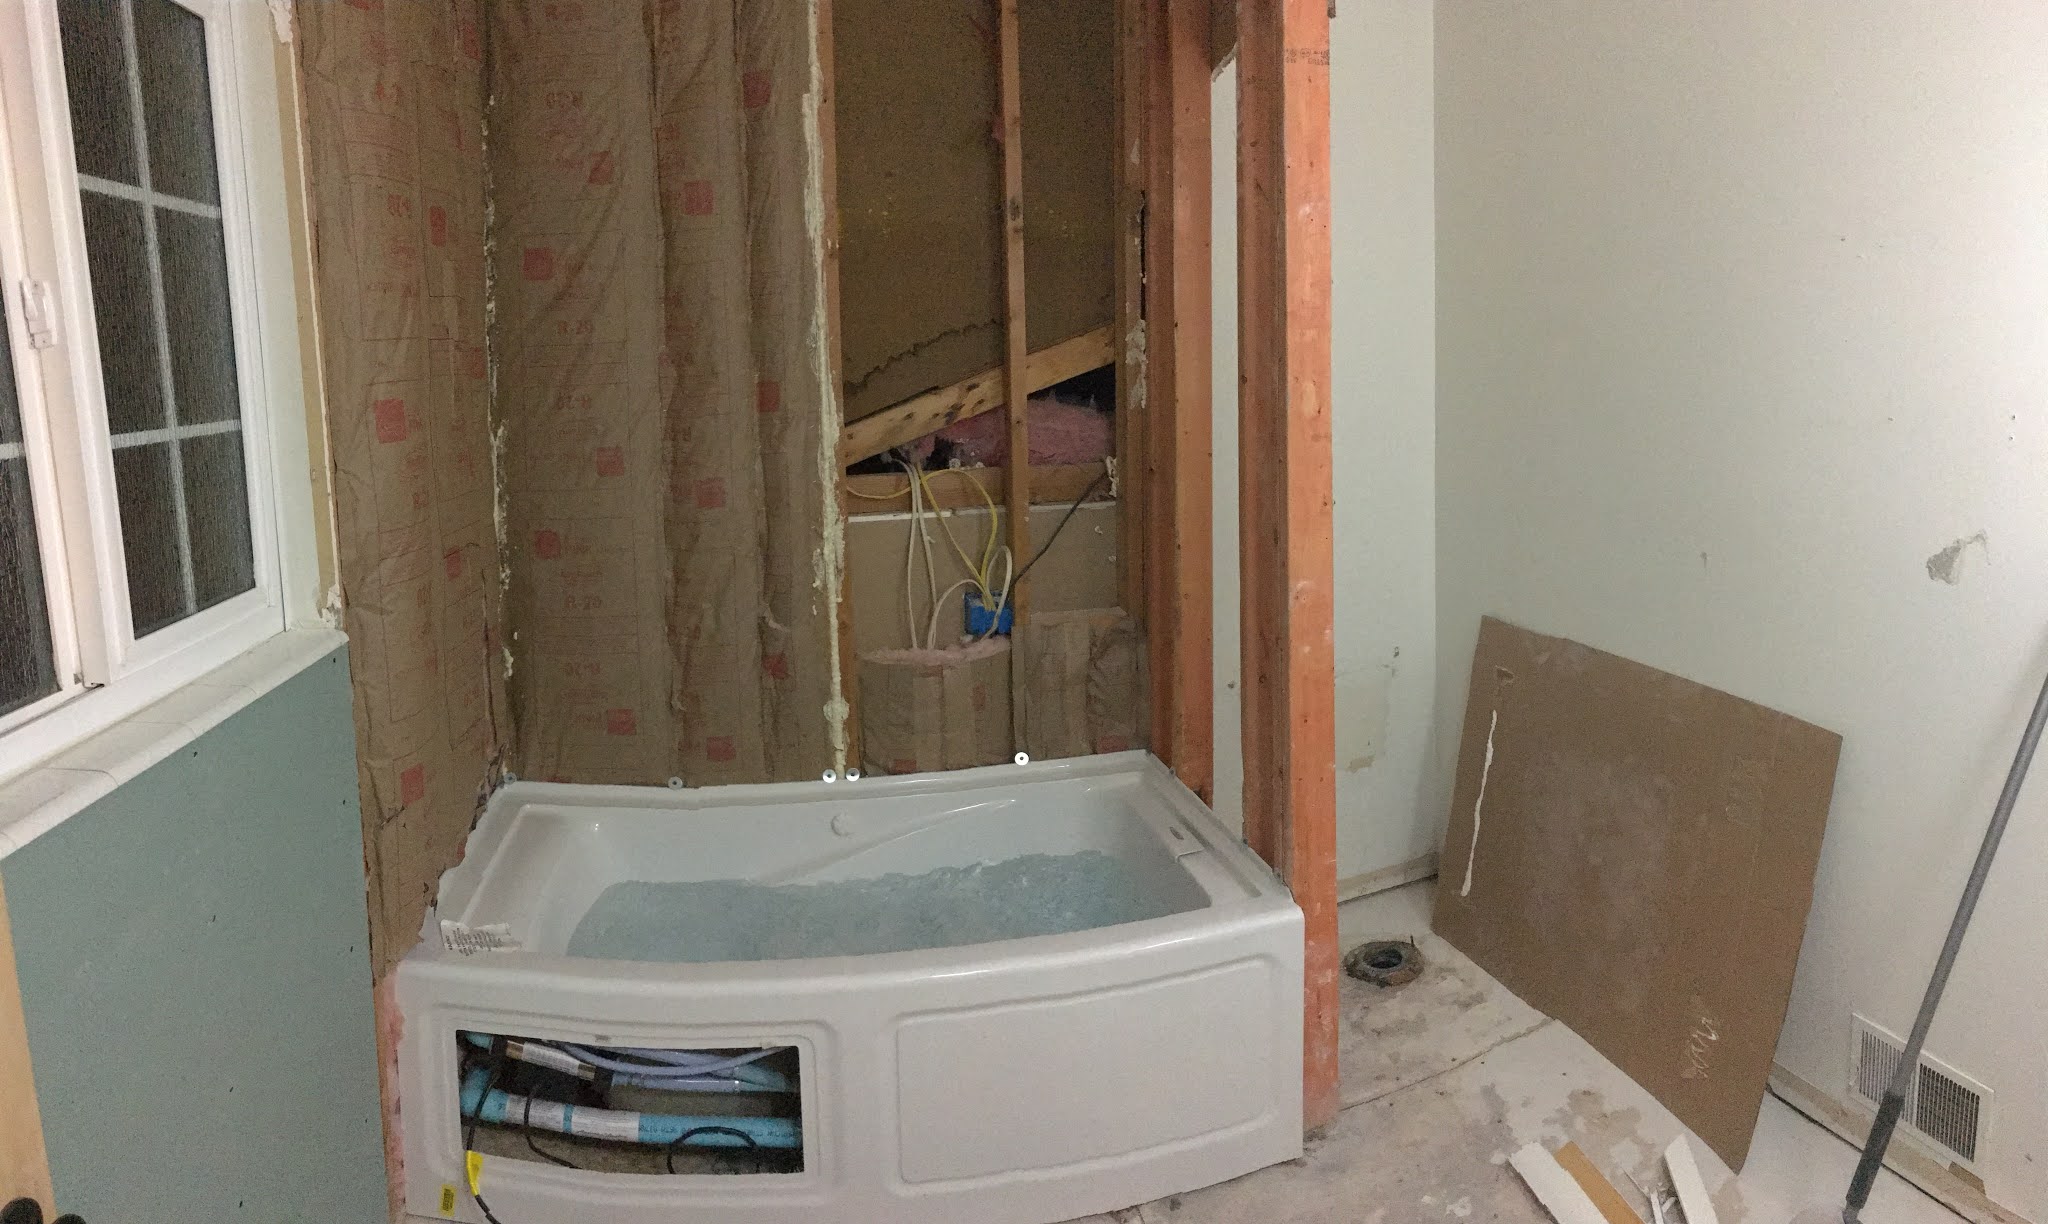
Some before photos of the bathroom. Note, the wife died her hair purple and washed it in the shower, staining the plastic shower, hence the purple color.
Some before photos of the sink area.
Planning
My wife does an awesome job with her mockups of what she wants done on the bathroom and this is what she sketched out before we started.
More sketches
And more, a little more detailed sketches.
Vanity
Before starting, we searched various online and in person stores for a vanity that we wanted. But anything remotely close to what we wanted was several thousands of dollars. So I tuned up my woodworking skills and decided to build one.
This was the image that she wanted the vanity to resemble. So I used this as a starting point.
After some searching and talking to hardwood specialists I decided that the best wood for the bathroom would be cherry, based on cost, durability, and appearance. I then bought a planer to help make the wood it's nicest I could. So began the beginning of piecing this thing together.
Starting to assemble the legs.
The outside frame coming together.
I don't have any experience making drawers so I decided that the easiest thing to do would be to buy an Ikea set of drawers and just strip out what I needed and recreate the wood in the drawer set with the cherry wood. Here I am getting a idea of depth and such to put in the bottom supports.
Starting to convert the drawer system into cherry wood.
Finalized frame with the top and bottom pieces screwed and glued into place.
Adding the decorating "X"'s on the outer edges.
Installing the now completely recreated drawer system with cherry wood.
Starting to add in the shelving slats. Due to a limited amount of wood, I was starting to run low at this point so the width of the slats was a bit of a game to get just right. The bottom slats ended up being wider than the upper shelf slats.
Adding in the upper shelf with its slats.
Test running the countertop with the vessel sinks that were purchased for the vanity.
Once the test fit was complete the countertop was made whole and connected together of a couple of strips of cherry.
Now that everything is essentially built, it is time to stain it. We wanted a darker stain so decided to go with Kona.
After staining with the sinks resting on the top. They will get installed later once the vanity is in place. At this point the counter top is also not installed so that things can still be moved around once the vanity is in the bathroom.
Demolition
With the vanity assembled, it is time for the demolition of the bathroom!
We are excited!
Starting with tearing out the vinyl floors. Which is a super huge pain.
The vanity getting remove.
And the shower getting the gentle treatment.
Shower completely removed.
And the walls are starting to get stripped out to install the new plumbing.
New Tub
Once we got everything that really needed to be stripped out, we were able to get the new jetted tub installed into the tub space. Running a leak test on the tub here.
Unfortunately with all the plumbing removed we needed to run the hose from outside to test it. And it was winter, which added to the difficulties.
But the tub passed!
With the tub working we could start insulating the walls. Unfortunately, the wiring from the kitchen on the other side of the wall wall limiting out abilities do fully wall in the shower at the moment, since the wire was went around this side of the 2x4. So that needed to be fixed. As well as new wiring installed for the jetted tub and heater. So we called an electrician, who also had to install a new breaker panel to make it bigger. But once all that was done we could move on.
And we could finally concrete wall in the shower. Also decided to install some shelves on the one wall.
Finished concreting in the shower area.
Flooring
Once the tub was installed I could focus on the flooring now. Unfortunately tile doesn't stick to wood underflooring very well, and the floor was not level and had a significant hump in it. So that all needed to be fixed. Fist we sealed the floor, making it blue.
Put in some support for the concrete floor leveler to be poured in.
And then poured in the concrete. This was also clearly not blocked off from puppies.
Once the floor set we could install the wood floor tile. Not real wood but tile that looks like wood.
Toilet Install
With the floor finished, we could install the toilet. But along with other problems, we got one toilet and it arrived broken. Returned that one and it was fine but I tightened the screws too much installing it, so I ended up breaking toilet #2 as well.
Thankfully I figured out what I was doing and installed toilet #3 with no problems.
Vanity Install
Once the floor was done we could install the vanity. Unfortunately once we had the vanity almost in place, I discovered that I mis-measured the vanity by about 1/2 an inch. In order to fix this the drywall along the back wall needed to come out.
And the shiplap needed to go in before we could install the vanity permanently. Once these were installed and painted, at least slightly above the vanity we could continue with the installation.
And now the vanity fits too. We wanted the faucets to be attached to the wall, which requires a bit of plumbing prep work to get right so everything was lined up.
And the new faucets were soft installed so that I could get the plumbing lines right.
Once all the plumbing lines were right I was able to wall in that back wall and get everything set.

.
I also wasn't a huge fan of how the counter top staining turned out so after some sanding, I re-stained it.
Looking much better to me now.
From here the vanity could be fully installed. And the counter locked down. The backsplash was also set to be tiled in.
Lining up the tiles with the walls and the faucets to make sure everything works.
And add in the sinks.
Everything lined up well so I could fully tile in the backsplash.
And grouted the backsplash with the new mirrors installed as well.
Shower Install
With the vanity done it was time to move on to the shower.
The shower system we got came with this beefy manifold to run body jets as well as a handheld sprayer and a rain shower. The instructions were also less than ideal so it took me a little while to figure it all out.
But in the process I installed the tub faucet separately since the shower and the tub were not directly connected.
But everything is slowly coming into place.
Once the shower manifold was in place I could then start to line up the connections. With the shower connections, they were set according to the person's height. Since my height is much more than my wife's we had to figure out the best alignment.
But eventually everything was installed in place.
Once everything had a place, then everything could be plumbed in. That was a joyous task to get all the pipe lines working in the right order.
Shower Tiling
And so begins the slow process of tiling up the shower. Back wall first.
And then around the shower and tub connections.
Shower wall finished.
And now the shelf wall.
Slowly up around the shelves.
And mostly finished with that.
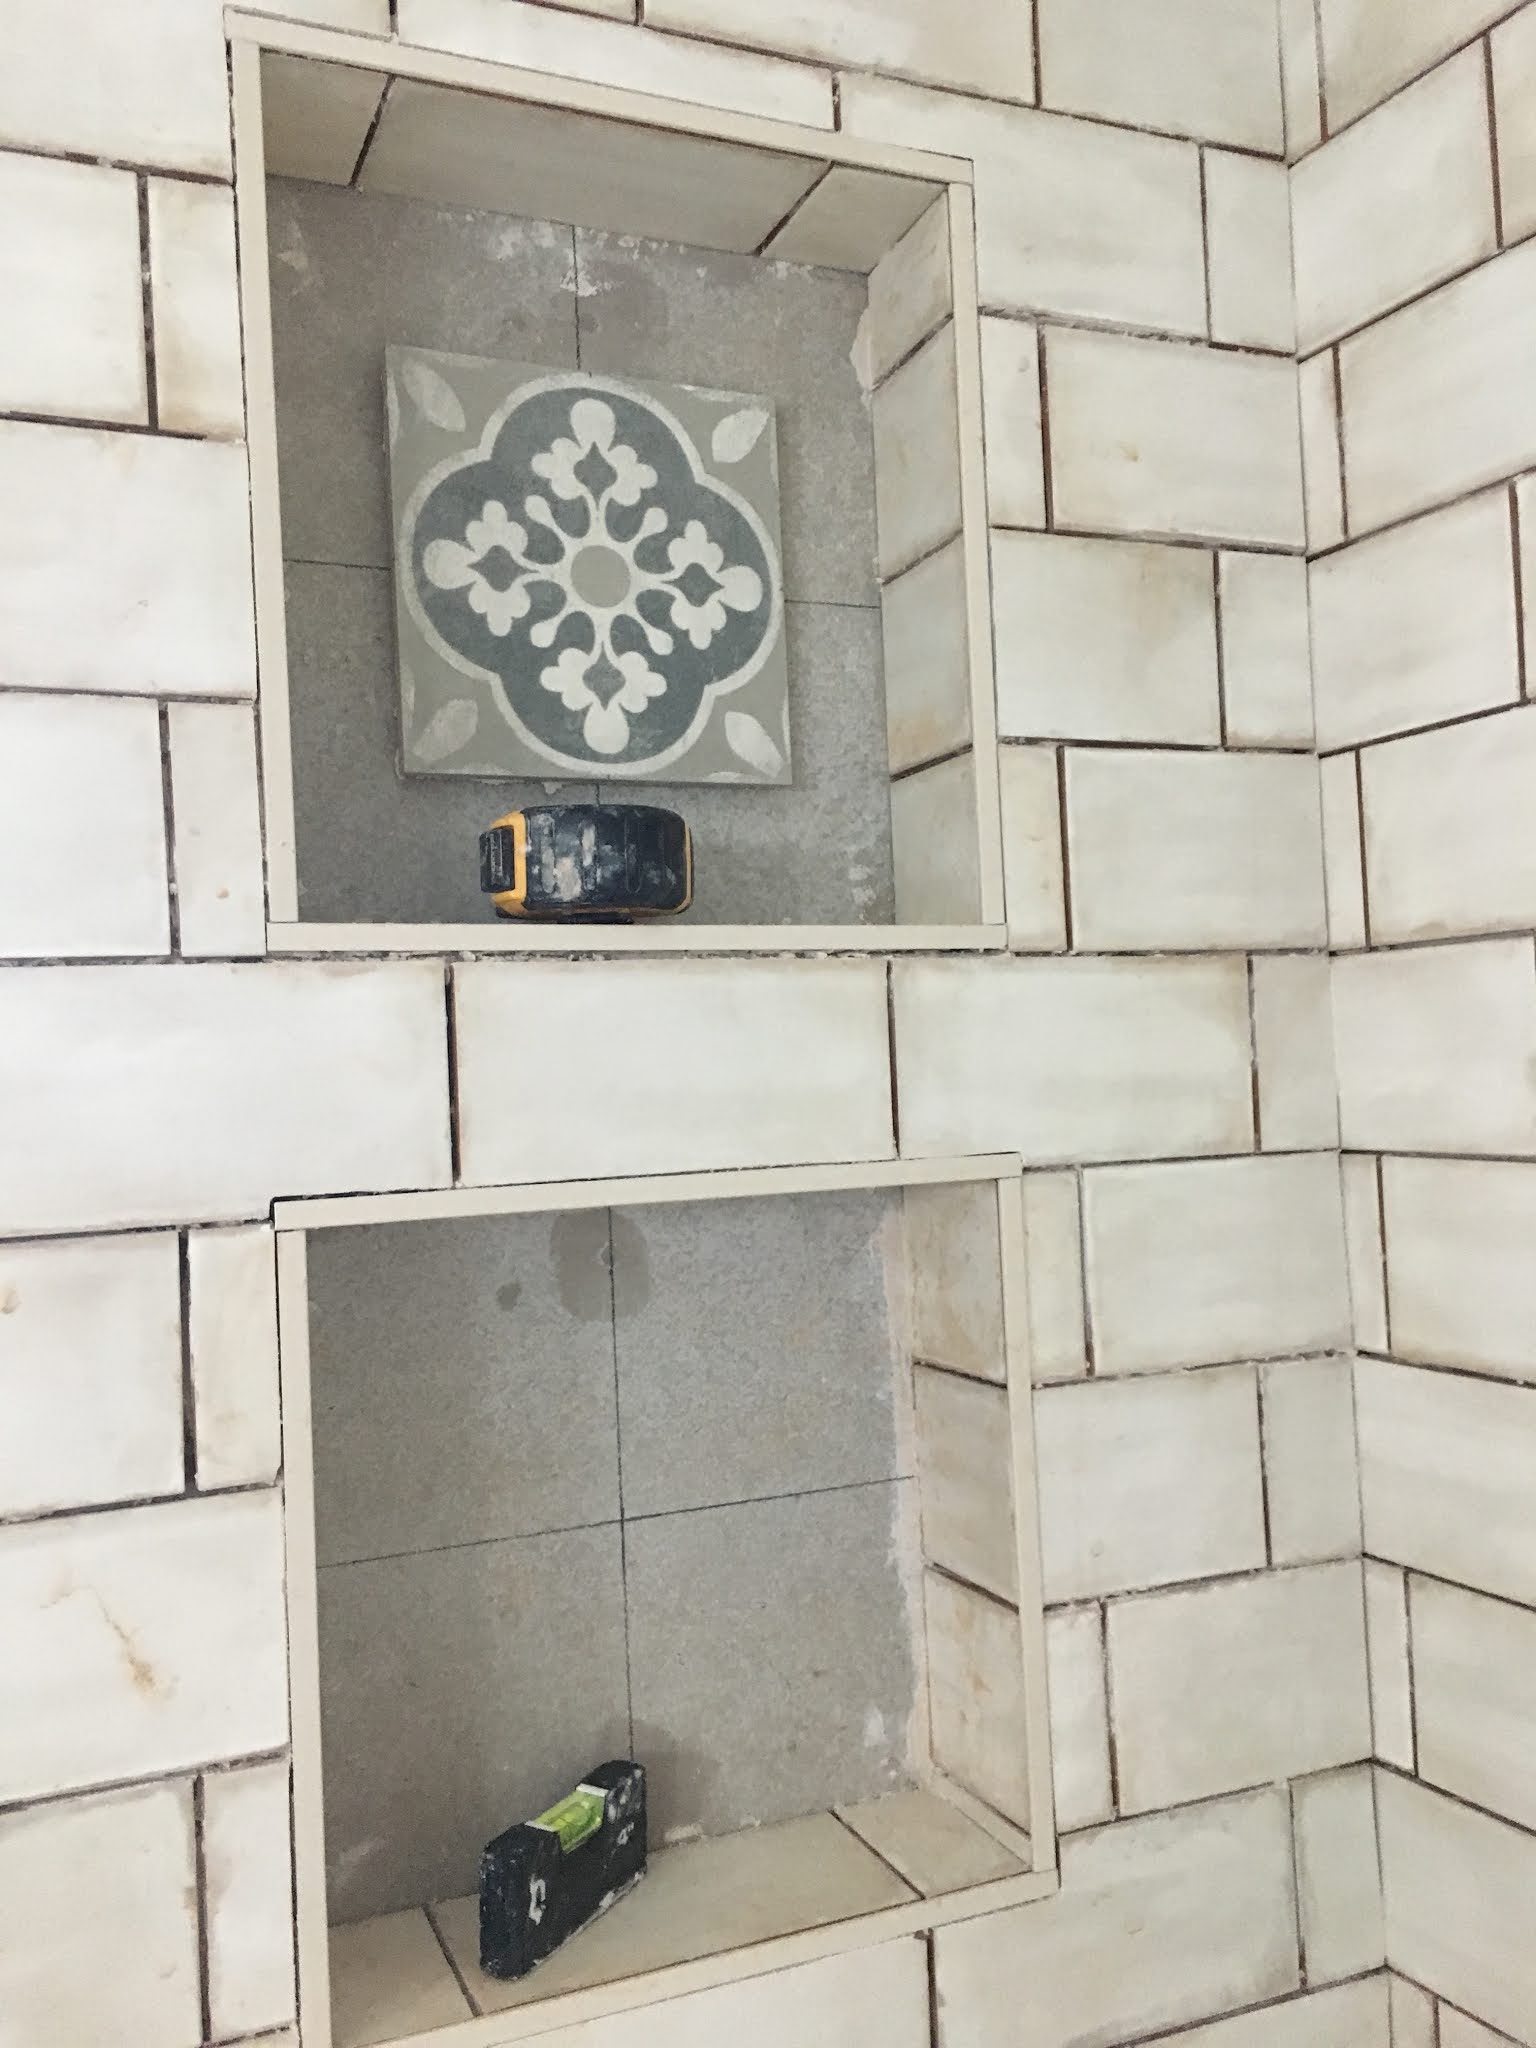
Tiling into the shelves now.
The back of the shelves the wife wanted a decorative tile, which is the same tile as the bath backsplash. Here I am lining them up to fine the ideal overlap of the tiles with the spacing.
Finished up the wall and ready for the back of the shelf openings.
Mapping out the openings and stating to tile.
One opening done.
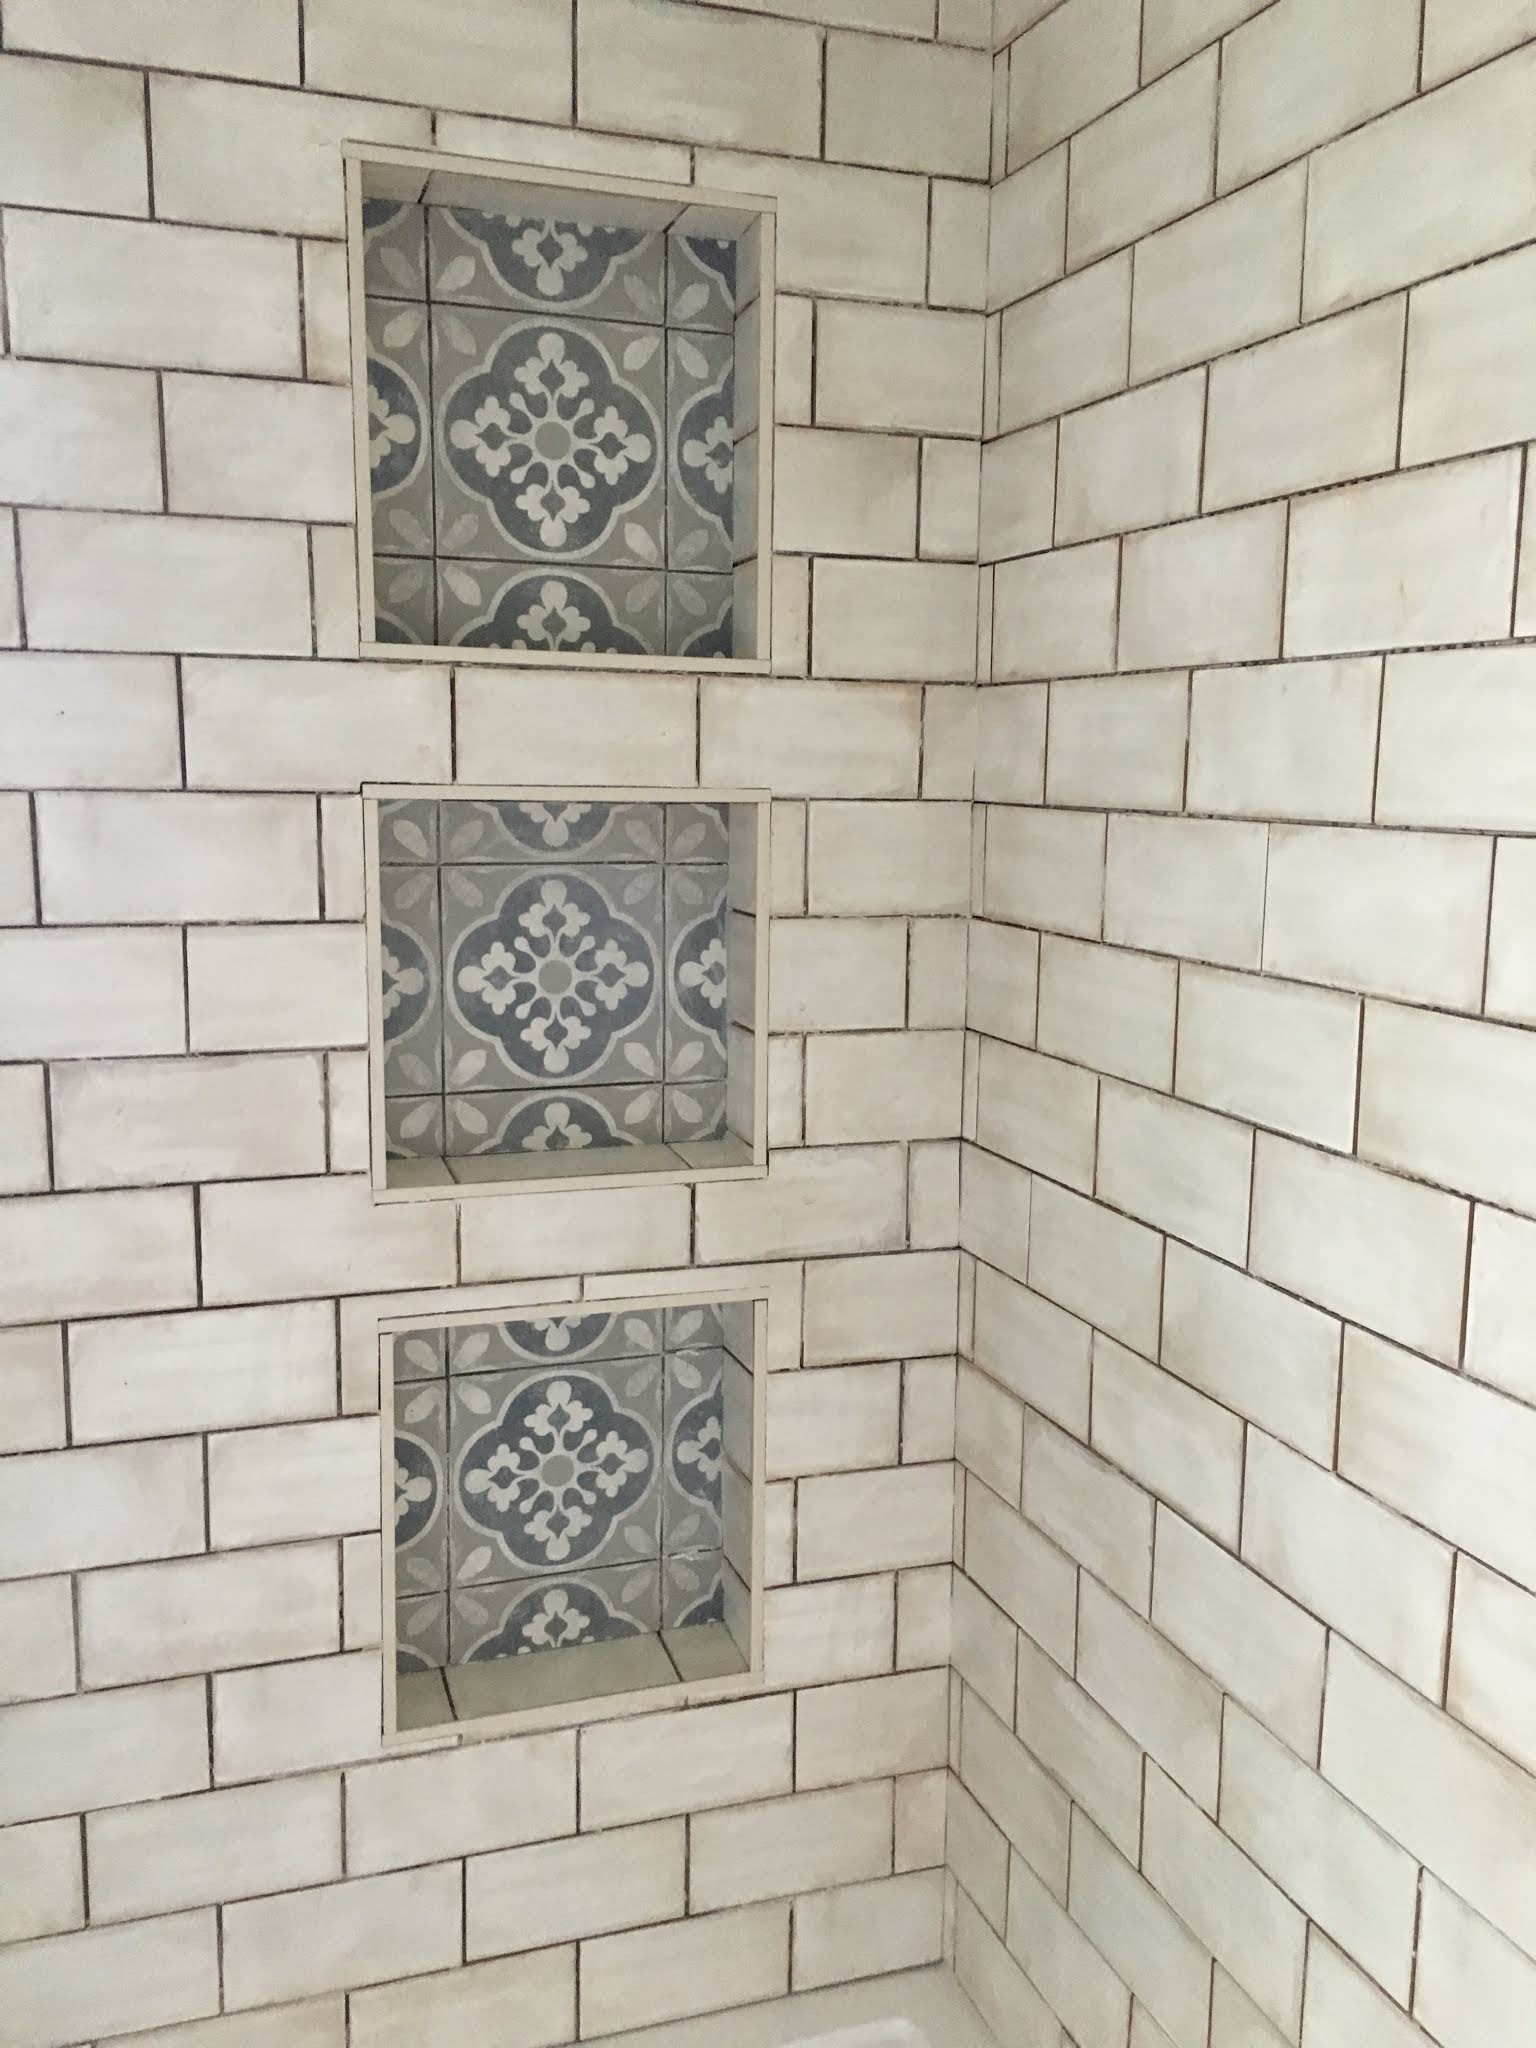
And the rest following in line.
And after the grout had been done.
Shower and bath pieces reinstalled.
Finishing Touches
With the shower done we could move on to finishing up the remaining décor items. First up the new lights. Which involved removal f the old lights and some new rewiring in the attic.
But once the holes are patched and the ceiling painted the vanity area turned out pretty nice.
Shower curtains were added. I didn't want to screw a shower rod into the tiles and I hate the way retention rods look so we ended up anchoring the rod to the ceiling and getting extra long curtains.
Towel bar to match the bathroom with the same cherry as the vanity.
And the floating shelves in the initial design for above the toilet needed special brackets installed.
But eventually they turned out really nice.
Final Bathroom Done!
Below are the shots of the final bathroom, without a lot of the décor that eventually got placed in.
The door eventually also got a whitewash.
View of the finalized vanity.
Finalized shower and towel rack.
Another view of the shower.
And the toilet area pre-decorations.