Friday, November 12, 2021

Home Remodel - Raised Veggie Beds

 Raised Veggie Beds

At the start of the pandemic lockdown in March of 2020, we decided it would be best to expand our veggie beds in order to:

1. Save money by growing some of our own food and 

2. Ensure there is food to be had. 

To do this we also needed to have raised veggie beds since the dogs have a habit of running through and ruining anything else we do. Besides just being functional, we also wanted them to look nice since they would play a pivotal function in the backyard and be easily noticeable by anyone walking by or visiting. We also didn't want to spend a ton of money. 

So this is what we came up with. I included the step-by-step instruction booklet I made for someone else who was interested in making their own based on what I did, but I can assure you, I am no expert and there are likely better methods at going about this since I did this entirely out of my own head based on what the wife had requested.

I started out with framing them to make sure that they weren't too big for the space, but also that my construction techniques would work. I ended up having to take them completely apart joint by joint because the redwood was too brittle to screw directly through and I ended up using outdoor braces similar to the ones I used on the deck construction. 

The plan was to make them weather resistant, hence the redwood, but we also didn't want toxic chemicals so we couldn't use pressure treated wood. And to make them big enough we added the metal panels so it wasn't 100% plywood. Laying them out here, we decided the letter "E" configuration would allow for the greatest access to the entire bed while still allowing maximum veggie growing space.

Slowly connecting the various sections after leveling them. The ground was slightly sloped, so although the middle and right bed approximately line up, the left bed was on an angle.

So I needed to lift it up and level out the ground. Luckily they were built sturdy enough that I could do this fairly easily.

Once the main beds were level I could connect them together. The left bed is not actually level with the other two beds but the connecting section slopes to connect them together. 

Once construction was done, it was time to add the soil. We got enough soil to fill them, however, over time the soil compacted so it only ended up half full by the end of the year.

Soil!

Once the soil was filled in we were able to fill in pea gravel around the beds. And I could also hook up the sprinkler line. The beds actually got placed right on top of a sprinkler head so I was able to remove the head and run a new sprinkler line up through the dirt so that a small sprinkler system could be installed within the beds. This would allow a constant supply of water in the rather dry Utah climate.

And from here we were able to plant several veggie plants that were all seperated out and well watered. It actually worked really well. The back of the beds had a trestle system for climbing plants like tomatoes or green beans with lights installed on top.

Flower Bed Construction Guide

The following 5 images are the pages to the construction guide I created. Just right click and save as you need.


Sunday, October 10, 2021

The 306 Greatest Books #167 - The Life and Opinions of Tristram Shandy

The next up on my reading of the 306 greatest books is The Life and Opinions of Tristram Shandy by Laurence Sterne. The book can be found on the Norwegian and Observer Book Lists.

Published over the course of eight years from 1759 to 1767, Tristram Shandy represented a departure from the typical books of its day. This book may be more seen as the proto-stream of consciousness novel with the author frequently bouncing around topics like they were in a pinball game. Sterne would go from his primary story, those about himself and his family, to some obscure, barely related tangent in the blink of an eye. He would then realize his tangent and eventually work his way back to the story in question. Although this was clearly the purpose of the book, it got to be extremely irritating. The book is written as an autobiography and stream of consciousness from the perspective of Tristram himself. However, it became abundantly clear that the story wasn't even about Tristram when it takes the author a third of the book to get to his own birth. The book winds up focusing mostly on the life of his uncle, Toby, as well as Toby's servant Trim. But despite the frequent tangents, the book actually turns out to be quite funny. There are times when one of the characters are trying to tell a story of their own and they keep getting interrupted by the other characters, so that each time the one telling the story starts to tell it, a new chapter starts. The title of that chapter then says something like "trying this one again", where eventually it takes the story teller five chapters to get the story finished. Another funny thing is how the book is constructed. Looking at the book itself, I assume most versions are published specifically how the author intended because of the way it is written. In my version of the book there were instances where entire pages were blank or page numbers skipped over on purpose. One such section threw me through a loop because 10 pages were skipped along with an entire chapter. The author then goes on to explain why those pages were skipped over, stating that he purposely ripped out the chapter. It's definitely a clever way of approaching the book and one I had never thought of. Even besides the constant bouncing around of topics, I think the thing that makes this book really difficult for me to read, is the way that it is written. Sentences will seem to go on forever with em-dashes breaking up thoughts within the sentence itself, so it's difficult to tell where a sentence truly begins and ends. This is very reminiscent of the later James Joyce in his Ulysses, a novel I also did not enjoy. Overall, this book felt like a chore to read with the constant thought diversions preventing me from being able to focus on the story myself. Along with the author, I felt my own attention wandering throughout the book. But this is clearly a work before its time. It stands out as a masterpiece of fiction for doing something that nobody else at the time was doing and in a way that made it at least somewhat enjoyable. Would I recommend this for people to read, definitely not, but as a lesson about the history of writing fiction I can definitely see this novel as a significant contributor. 


Friday, February 12, 2021

The 100 Greatest Movies - #39: Doctor Zhivago

I am in the process of watching all of the 100 Greatest movies according to AFI. The current film I just watched is Doctor Zhivago, which is #39This movie is also on the 100 Greatest Romances list (#7).


Taking place during the Russian Revolution that overlaps with the first World War, the story follows General Yevgraf Zhivago, played by Alec Guinness, as he searches for his long lost niece, the daughter of his half-brother Doctor Yuri Zhivago, played by Omar Sharif. Although narrated in parts by Guinness, the movie moves along fairly consistently through the life of Yuri Zhivago as well as the person identified in the beginning as the mother to Yevgraf's niece, Lara, played by Julie Christie. Created in 1965, the movie does not present the life of Lara in the most favorable light. She is often the victim of abuse, rape, and a whole host of other problems that she seems unable, or unwilling, to stop or change. It is a tragic love story between these two star-crossed lovers who can't seem to make it work between themselves. The videography throughout the movie was simply gorgeous, often over emphasizing some small detail within the scenery, such as a candle melting the ice crystals on a window. The acting was great as well, even though Sharif's overly glassy eyes throughout the movie made it appear as he had tears in his eyes non-stop throughout the movie. But it is a long movie, and one that I don't think modern day audiences will overly enjoy. It took about half-way through the movie before I was fully invested, and by that time it had been a long movie and I was just looking for a break. Overall, not bad, but the story was clearly dated and could have been "four hours shorter" in the words of my wife (the movie is only 3 hours and 20 minutes). I am interested in reading the book however, which hopefully would shed more light on the many of the plot details that the movie seemed to skip over.

Wednesday, January 27, 2021

The 306 Greatest Books #166 - Fairy Tales and Stories

 The next up on my reading of the 306 greatest books is Fairy Tales and Stories by Hans Christian Anderson. The book can be found on the Norwegian Book List.


This book took me a long time to read. I started reading it with my daughter about 5 years ago during our bedtime reading. However, she did not like it at all, despite being a huge The Little Mermaid fan, and we eventually stopped reading it together. I then started to read it on my own, however I couldn't continue reading the stories for a long time, so I would put the book down for months at a time. This style of reading works for a short story compilation because there are no threads tying the stories together, but there is also nothing drawing me back into the book. Anderson wrote stories for over 40 years and in that time his writing style didn't change much at all. He would often start and finish stories in the same manner, with his story wrap up much like Forest Gump's "and that's all I have to say about that", which leaves a sour taste in my mouth. There really was no need to add the last sentence just saying the story was completed. Many of his earlier stories were basically just Christian folktales, with that theme cropping up throughout his writing career. He was also horribly misogynistic and anti-Semitic. There is an entire story about a Jewish girl who basically hates herself because she is Jewish and eventually dies happy finding out that she had finally been converted to being a Christian. He is also big on anthropomorphism, where many, if not most, of his stories revolve around viewing life around an inanimate object as if that object had thoughts and feelings. I think these were the most painful to read. His better stories focused on humans, and there are some rather enjoyable stories in the mix.  I liked "The Thorny Road of Honor" and "Lucky Peer", as well as reading up on the original stories for all of the Disney Movies and other stories that had gotten passed down through time such as "The Little Mermaid", "The Ugly Duckling", and "The Little Match Girl". These were overall the high points of his writings and really would be the only ones I recommend people search out to read. 

Friday, January 22, 2021

Home Remodel - Master Bathroom

 Next up on the remodel list was the Master Bathroom. I started working on the bathroom in November of 2018 and it was officially deemed finished about a year later in ~November of 2019. The bathroom needed a lot of work. The floor was vinyl and may have been original to this 1970's house, not to mention everything in there was falling apart so a complete gut was necessary.

Before

Some before photos of the bathroom. Note, the wife died her hair purple and washed it in the shower, staining the plastic shower, hence the purple color.

Some before photos of the sink area.

Planning


My wife does an awesome job with her mockups of what she wants done on the bathroom and this is what she sketched out before we started.

More sketches

And more, a little more detailed sketches.

Vanity

Before starting, we searched various online and in person stores for a vanity that we wanted. But anything remotely close to what we wanted was several thousands of dollars. So I tuned up my woodworking skills and decided to build one. 

This was the image that she wanted the vanity to resemble. So I used this as a starting point.

After some searching and talking to hardwood specialists I decided that the best wood for the bathroom would be cherry, based on cost, durability, and appearance. I then bought a planer to help make the wood it's nicest I could. So began the beginning of piecing this thing together.

Starting to assemble the legs.

The outside frame coming together.
 
I don't have any experience making drawers so I decided that the easiest thing to do would be to buy an Ikea set of drawers and just strip out what I needed and recreate the wood in the drawer set with the cherry wood. Here I am getting a idea of depth and such to put in the bottom supports.

Starting to convert the drawer system into cherry wood.

Finalized frame with the top and bottom pieces screwed and glued into place.

Adding the decorating "X"'s on the outer edges.

Installing the now completely recreated drawer system with cherry wood.

Starting to add in the shelving slats. Due to a limited amount of wood, I was starting to run low at this point so the width of the slats was a bit of a game to get just right. The bottom slats ended up being wider than the upper shelf slats.

Adding in the upper shelf with its slats.

Test running the countertop with the vessel sinks that were purchased for the vanity. 

Once the test fit was complete the countertop was made whole and connected together of a couple of strips of cherry.

Now that everything is essentially built, it is time to stain it. We wanted a darker stain so decided to go with Kona. 

After staining with the sinks resting on the top. They will get installed later once the vanity is in place. At this point the counter top is also not installed so that things can still be moved around once the vanity is in the bathroom.

Demolition


With the vanity assembled, it is time for the demolition of the bathroom!
We are excited!

Starting with tearing out the vinyl floors. Which is a super huge pain.

The vanity getting remove. 

And the shower getting the gentle treatment.

Shower completely removed.

And the walls are starting to get stripped out to install the new plumbing.

New Tub


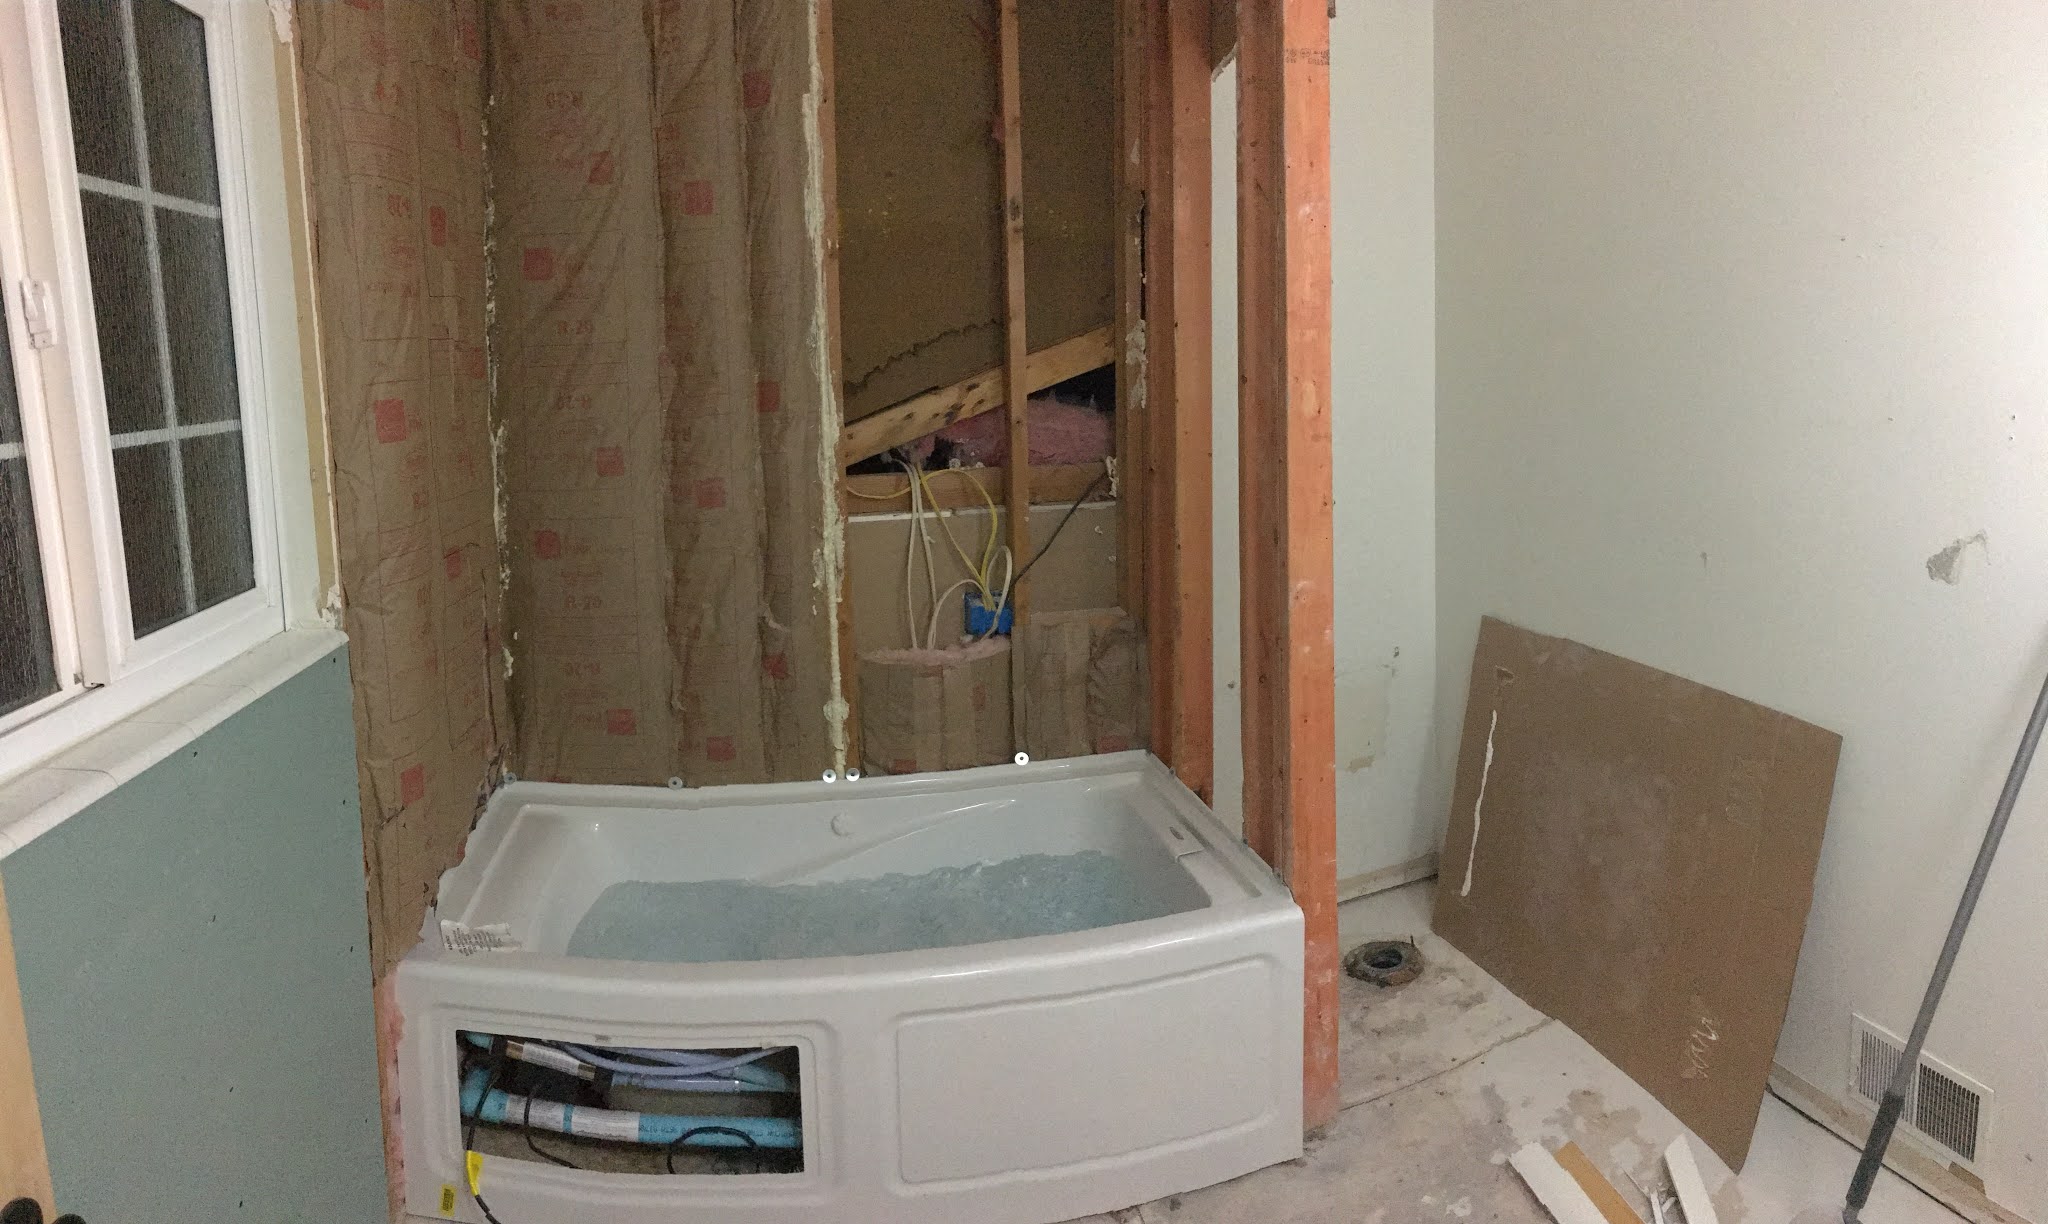
Once we got everything that really needed to be stripped out, we were able to get the new jetted tub installed into the tub space. Running a leak test on the tub here.

Unfortunately with all the plumbing removed we needed to run the hose from outside to test it. And it was winter, which added to the difficulties.

But the tub passed!

With the tub working we could start insulating the walls. Unfortunately, the wiring from the kitchen on the other side of the wall wall limiting out abilities do fully wall in the shower at the moment, since the wire was went around this side of the 2x4. So that needed to be fixed. As well as new wiring installed for the jetted tub and heater. So we called an electrician, who also had to install a new breaker panel to make it bigger. But once all that was done we could move on.
  
And we could finally concrete wall in the shower. Also decided to install some shelves on the one wall.

Finished concreting in the shower area.

Flooring


Once the tub was installed I could focus on the flooring now. Unfortunately tile doesn't stick to wood underflooring very well, and the floor was not level and had a significant hump in it. So that all needed to be fixed. Fist we sealed the floor, making it blue.

Put in some support for the concrete floor leveler to be poured in.

And then poured in the concrete. This was also clearly not blocked off from puppies.

Once the floor set we could install the wood floor tile. Not real wood but tile that looks like wood.

Grouted the floor. 

Toilet Install


With the floor finished, we could install the toilet. But along with other problems, we got one toilet and it arrived broken. Returned that one and it was fine but I tightened the screws too much installing it, so I ended up breaking toilet #2 as well.

Thankfully I figured out what I was doing and installed toilet #3 with no problems.

Vanity Install

Once the floor was done we could install the vanity. Unfortunately once we had the vanity almost in place, I discovered that I mis-measured the vanity by about 1/2 an inch. In order to fix this the drywall along the back wall needed to come out.

And the shiplap needed to go in before we could install the vanity permanently. Once these were installed and painted, at least slightly above the vanity we could continue with the installation.

And now the vanity fits too. We wanted the faucets to be attached to the wall, which requires a bit of plumbing prep work to get right so everything was lined up.

And the new faucets were soft installed so that I could get the plumbing lines right.

Once all the plumbing lines were right I was able to wall in that back wall and get everything set.

.
I also wasn't a huge fan of how the counter top staining turned out so after some sanding, I re-stained it. 

Looking much better to me now.

From here the vanity could be fully installed. And the counter locked down. The backsplash was also set to be tiled in.

Lining up the tiles with the walls and the faucets to make sure everything works.

And add in the sinks.

Everything lined up well so I could fully tile in the backsplash.

And grouted the backsplash with the new mirrors installed as well.

Shower Install


With the vanity done it was time to move on to the shower.
The shower system we got came with this beefy manifold to run body jets as well as a handheld sprayer and a rain shower. The instructions were also less than ideal so it took me a little while to figure it all out.

But in the process I installed the tub faucet separately since the shower and the tub were not directly connected. 

But everything is slowly coming into place.

Once the shower manifold was in place I could then start to line up the connections. With the shower connections, they were set according to the person's height. Since my height is much more than my wife's we had to figure out the best alignment. 

But eventually everything was installed in place.

Once everything had a place, then everything could be plumbed in. That was a joyous task to get all the pipe lines working in the right order.

Shower Tiling


And so begins the slow process of tiling up the shower. Back wall first.

And then around the shower and tub connections.

Shower wall finished.

And now the shelf wall.

Slowly up around the shelves.

And mostly finished with that.

Tiling into the shelves now.

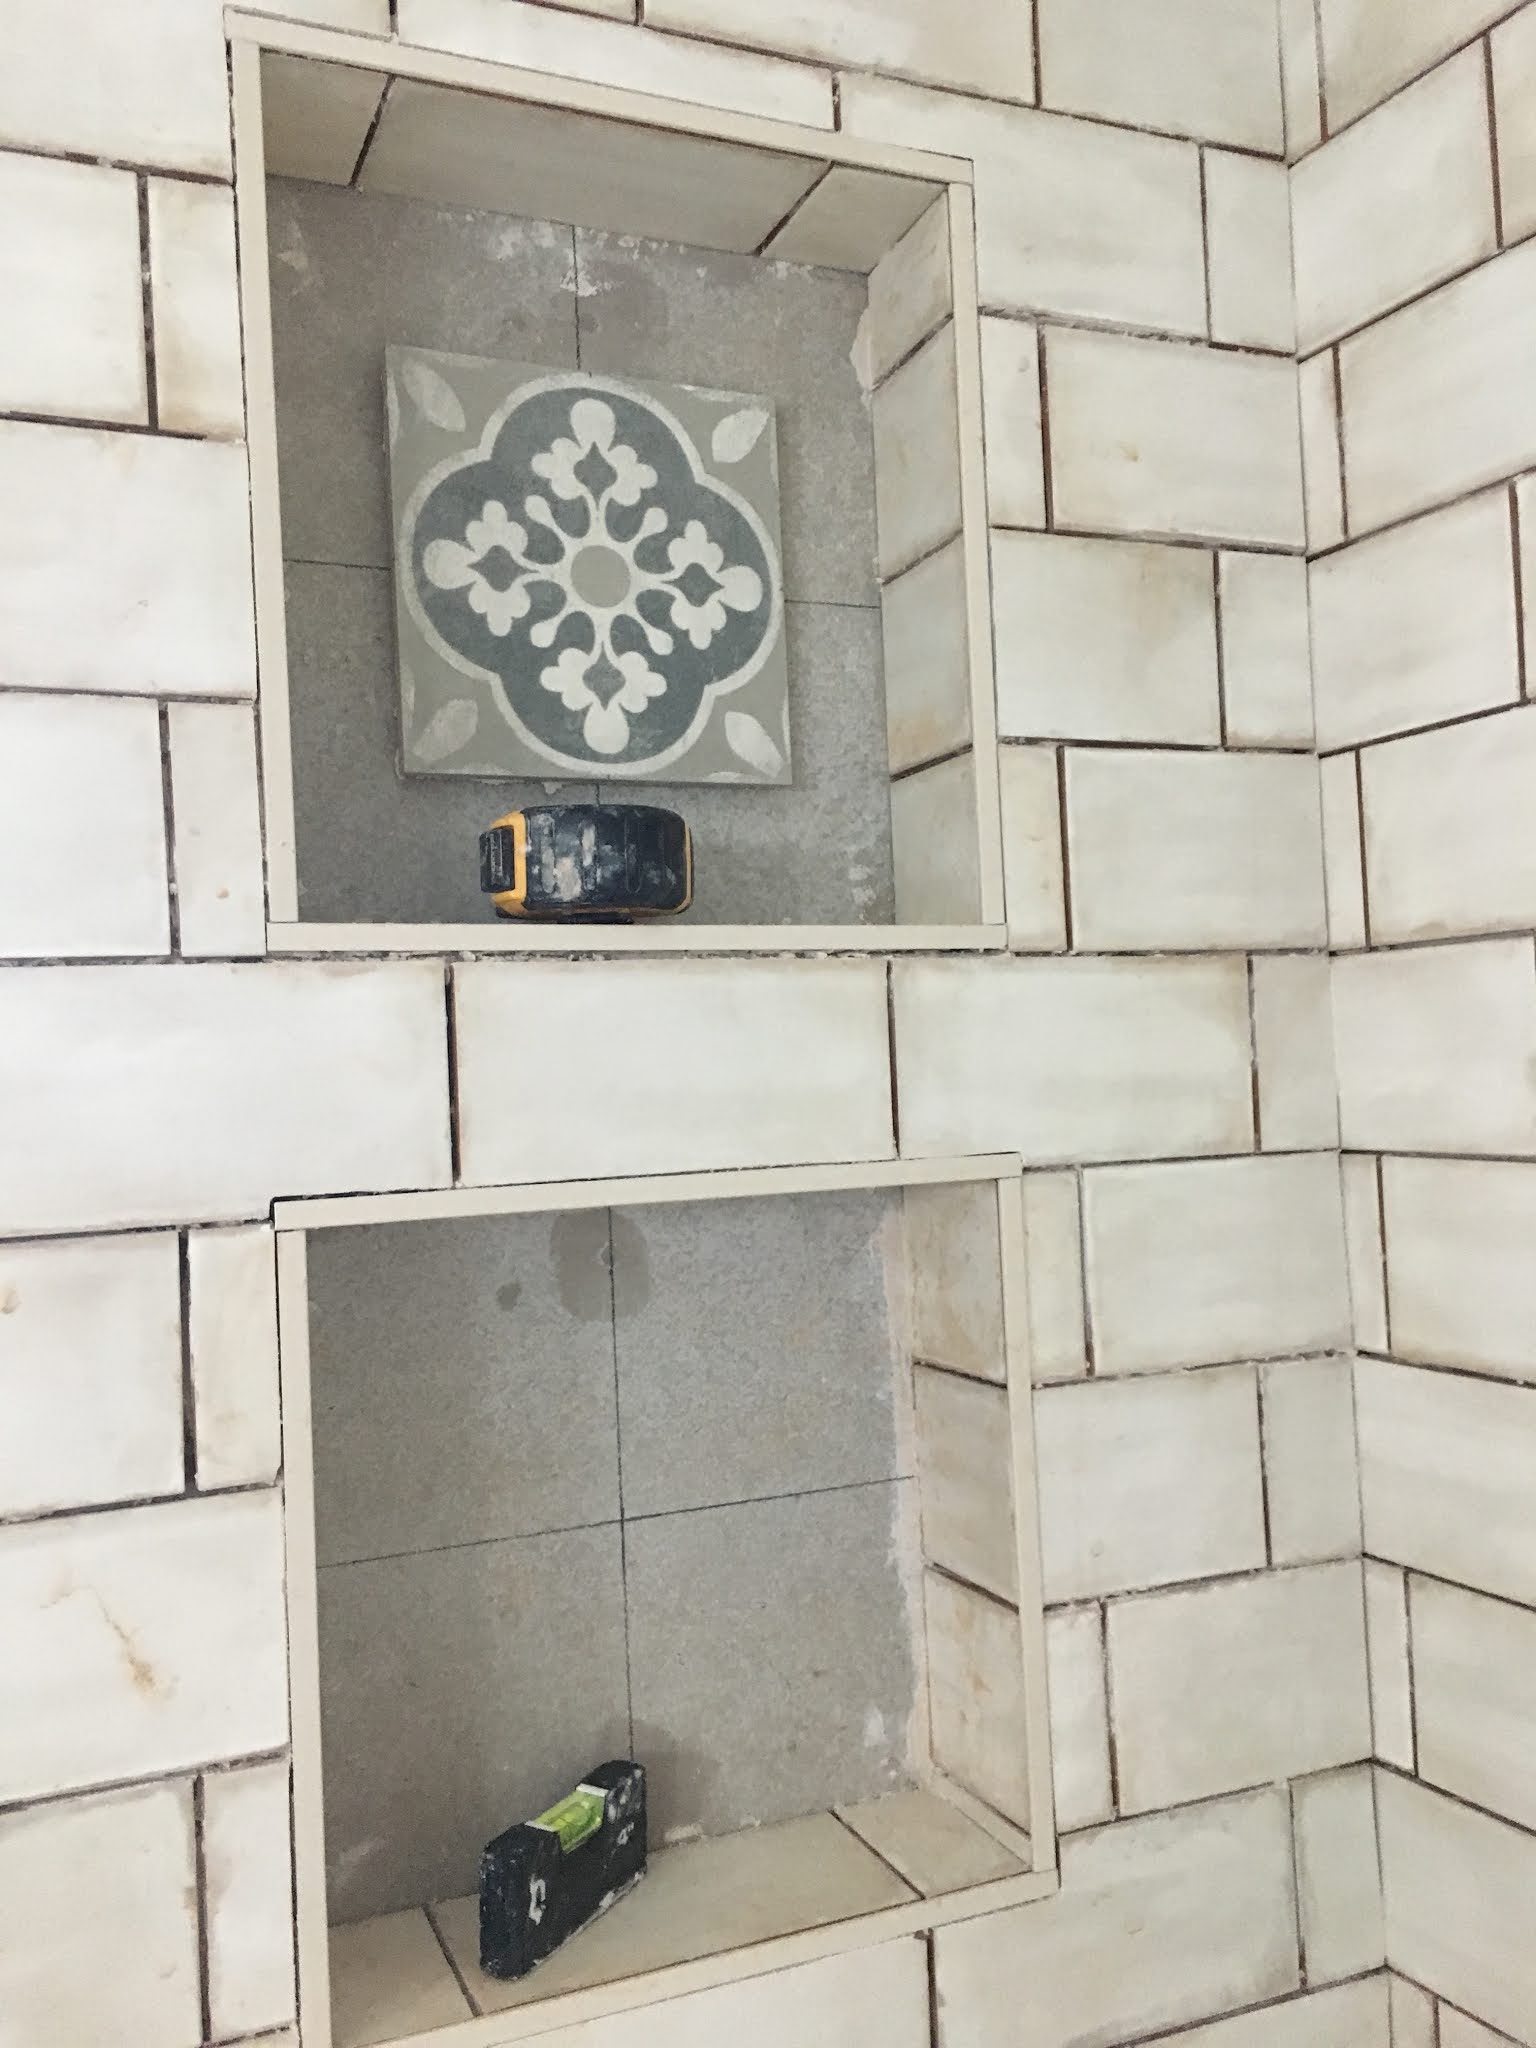
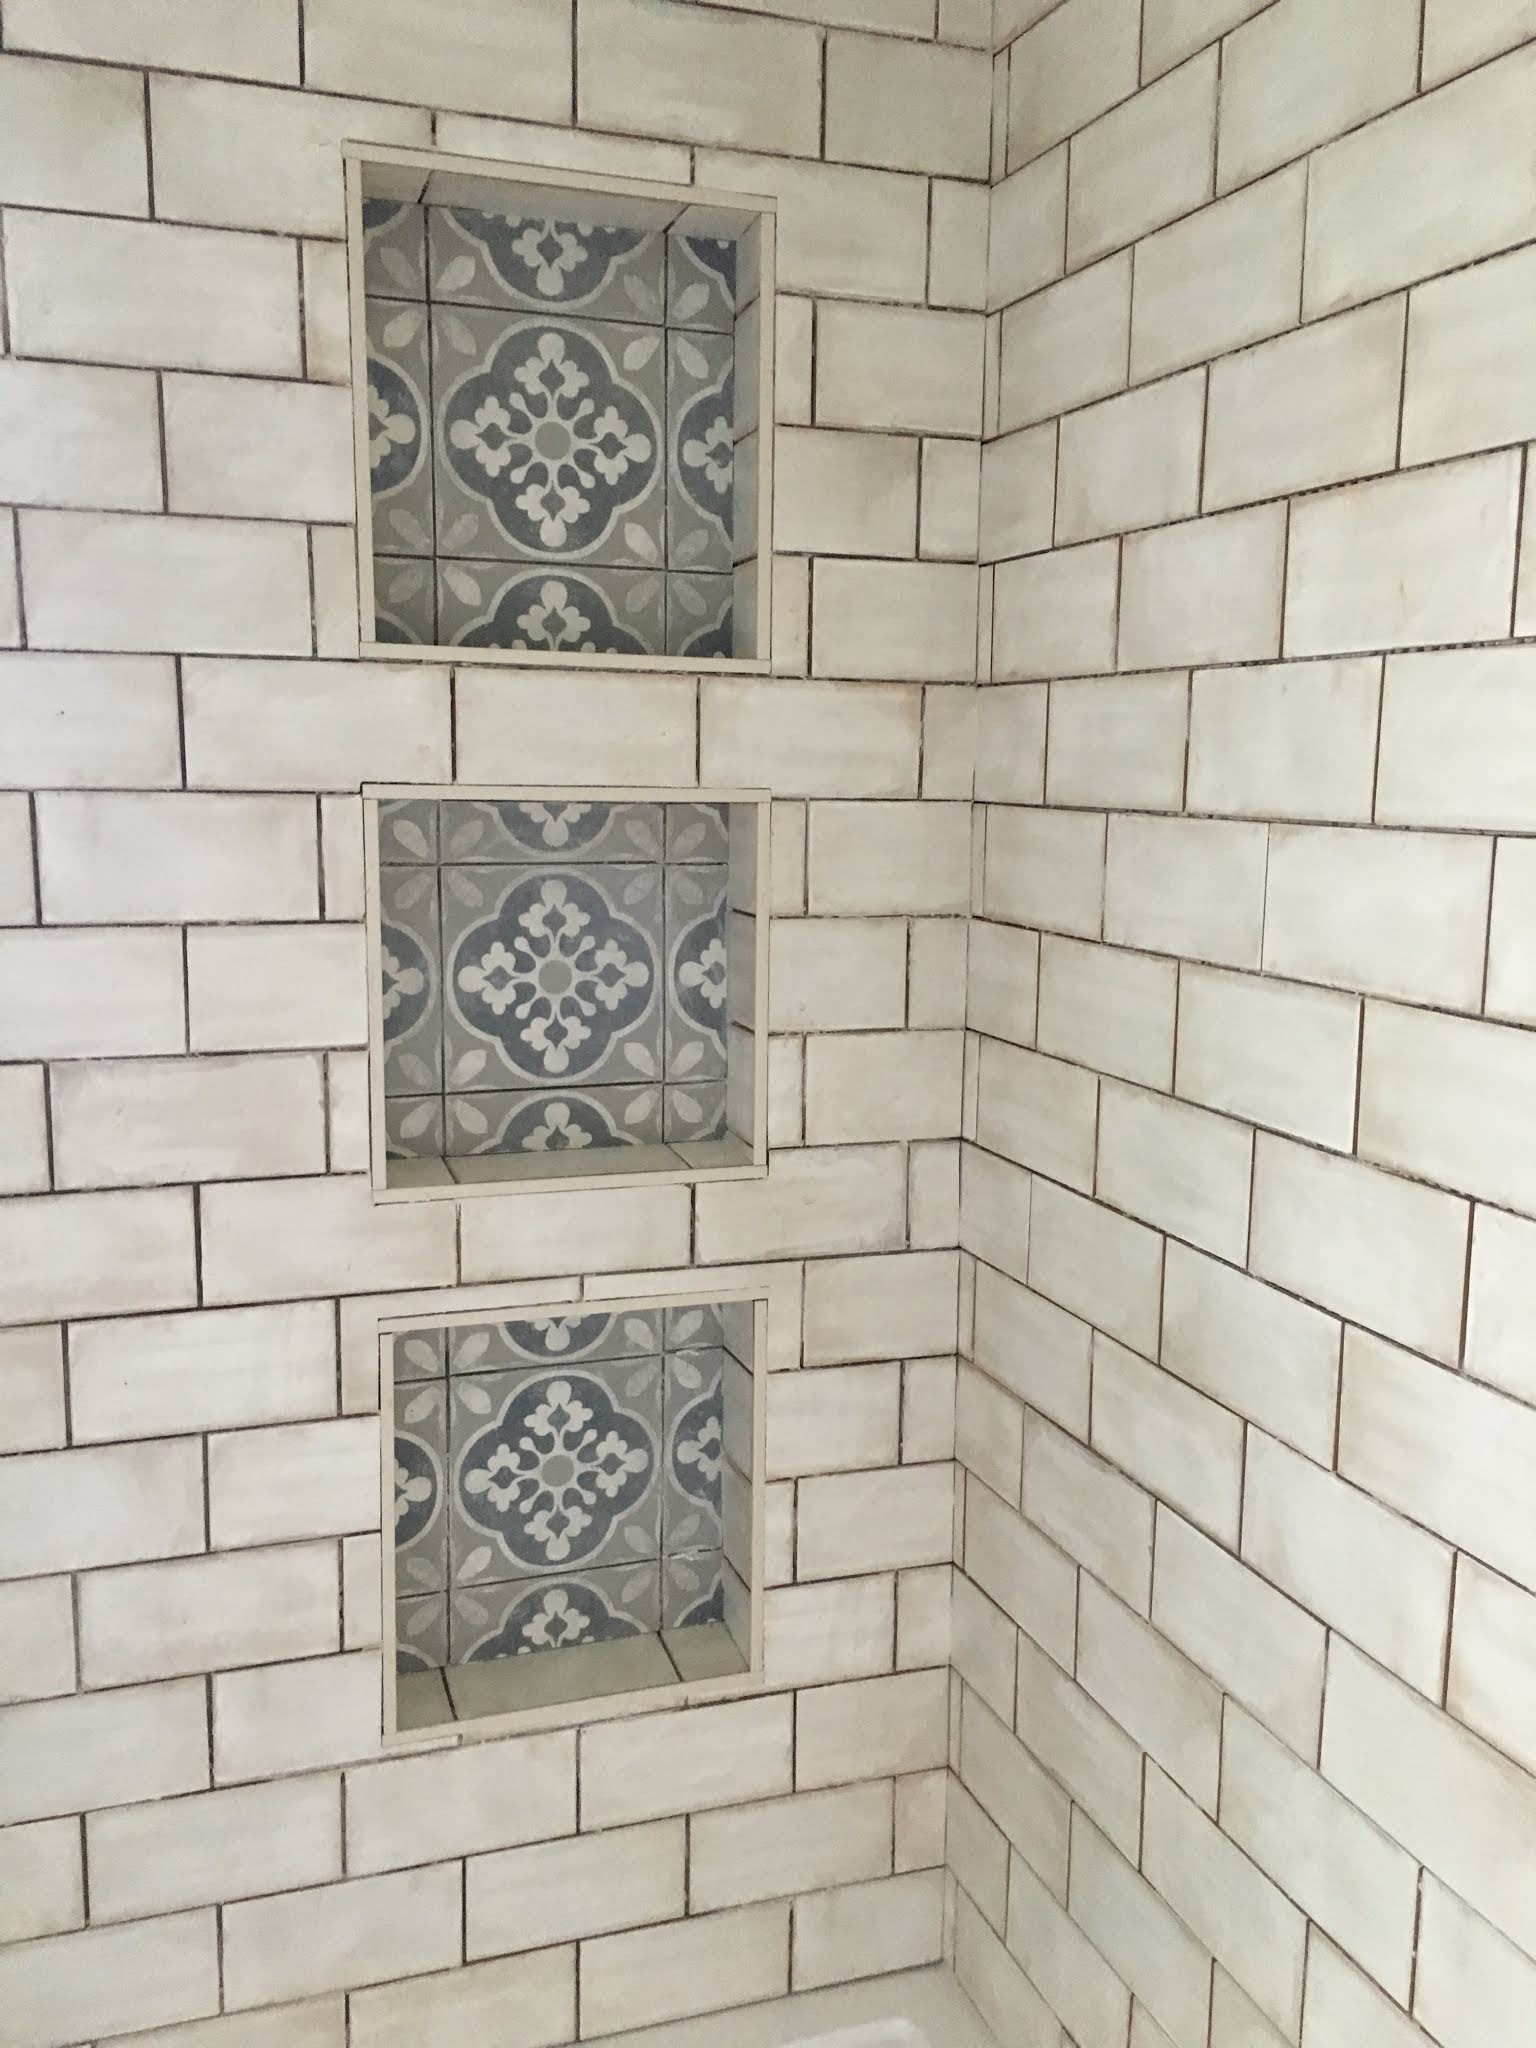
The back of the shelves the wife wanted a decorative tile, which is the same tile as the bath backsplash. Here I am lining them up to fine the ideal overlap of the tiles with the spacing.

Finished up the wall and ready for the back of the shelf openings.

Mapping out the openings and stating to tile. 

One opening done.

And the rest following in line.

And after the grout had been done.

Shower and bath pieces reinstalled.

Finishing Touches


With the shower done we could move on to finishing up the remaining décor items. First up the new lights. Which involved removal f the old lights and some new rewiring in the attic.  

But once the holes are patched and the ceiling painted the vanity area turned out pretty nice.

Shower curtains were added. I didn't want to screw a shower rod into the tiles and I hate the way retention rods look so we ended up anchoring the rod to the ceiling and getting extra long curtains.

Towel bar to match the bathroom with the same cherry as the vanity.

And the floating shelves in the initial design for above the toilet needed special brackets installed. 

But eventually they turned out really nice.

Final Bathroom Done!

Below are the shots of the final bathroom, without a lot of the décor that eventually got placed in.
The door eventually also got a whitewash.

View of the finalized vanity.

Finalized shower and towel rack.

Another view of the shower.

And the toilet area pre-decorations.