The final project I worked on before we moved from Utah was getting the guest bathroom set for selling the house. It took a little less than 4 months from start to finish, which was just slightly longer than my 1 month estimate, but I think it came out pretty good.

Before shots of the bathroom.
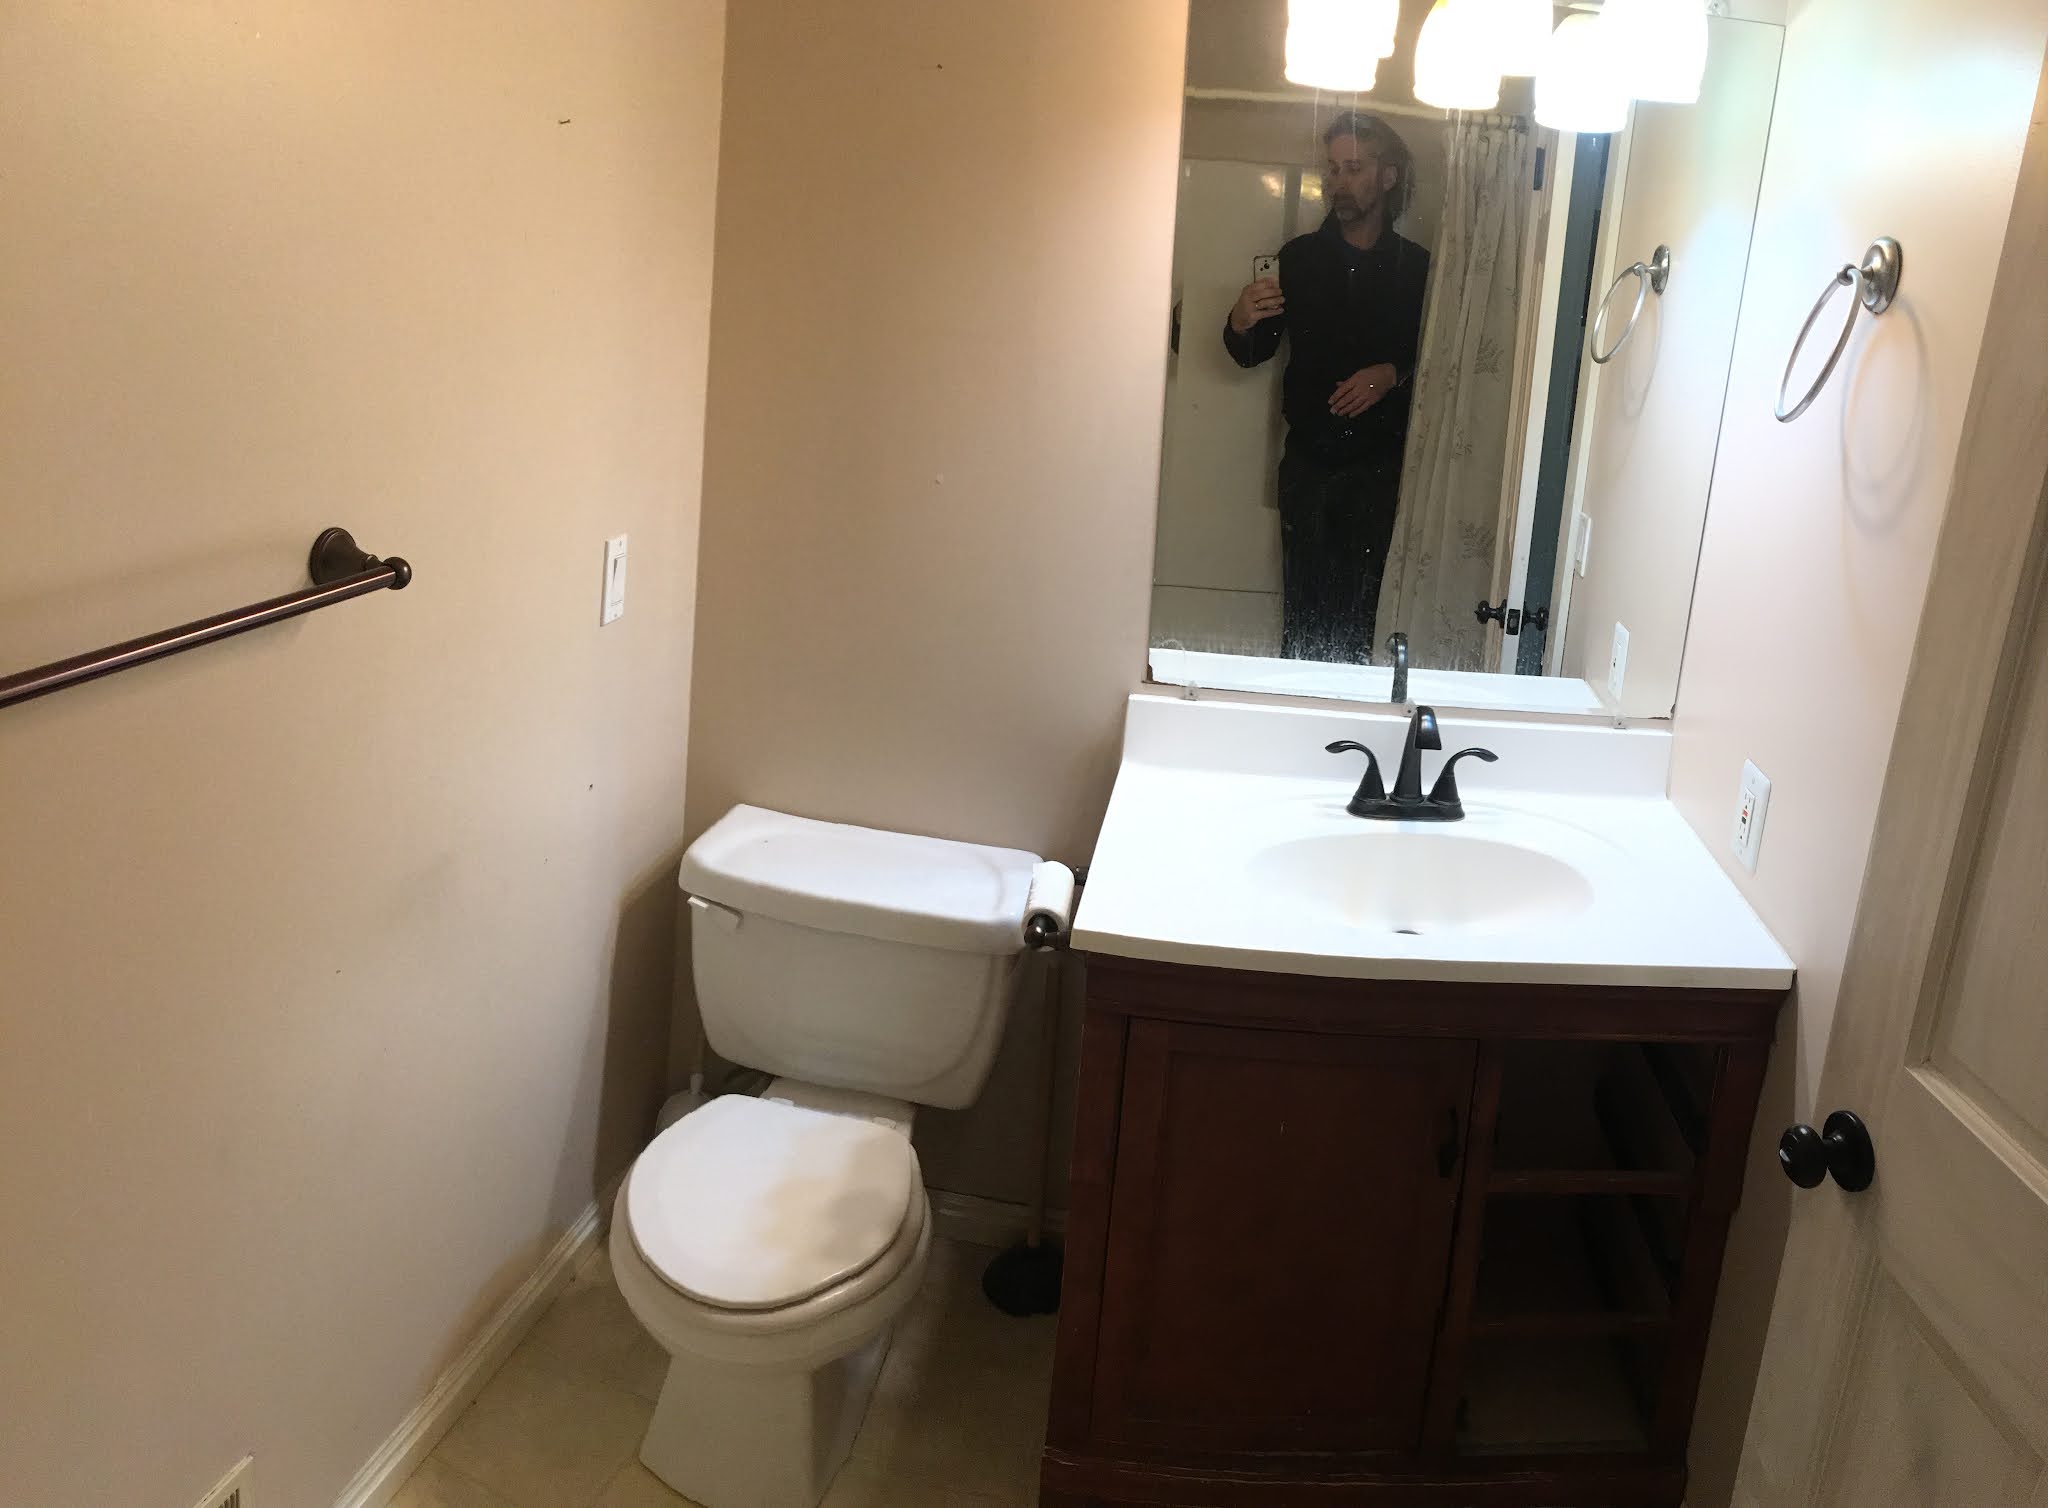
Before shot from the other side standing in the tub.

First job, strip everything out. This involved removing the plastic shower wall.

Then removing the tub and all the fixtures. Turns out the air intake for the furnace ran under the tub, so I will have to be careful with that when installing the new tub.

Also removed the sink and toilet. The bathroom is a cube now.

A look at the floor with the vinyl flooring torn out.

First step to putting everything back together was install the tub. This was a giant pain in the ass because of the size and placement of the tub in relation to the door. The tub was just slightly bigger than the door frame so I had to angle it in, and also remove the drywall on the far wall so it could lay flat to slide in. Eventually it was done.

Then I had to run the plumbing up from the basement.

Before tiling, I laid down concrete floor boards so that the tiles would stick better than to the wood subflooring. I also extended the toilet drain up so it wouldn't get filled with tile mortar.

Testing out the placement of the tiles. It seems they will actually fit really well with minimal weird cut tiles.

Installation of the tiles. Came out pretty good. I'm starting to like these larger floor tiles.

And floor grouted and pipe cut down.
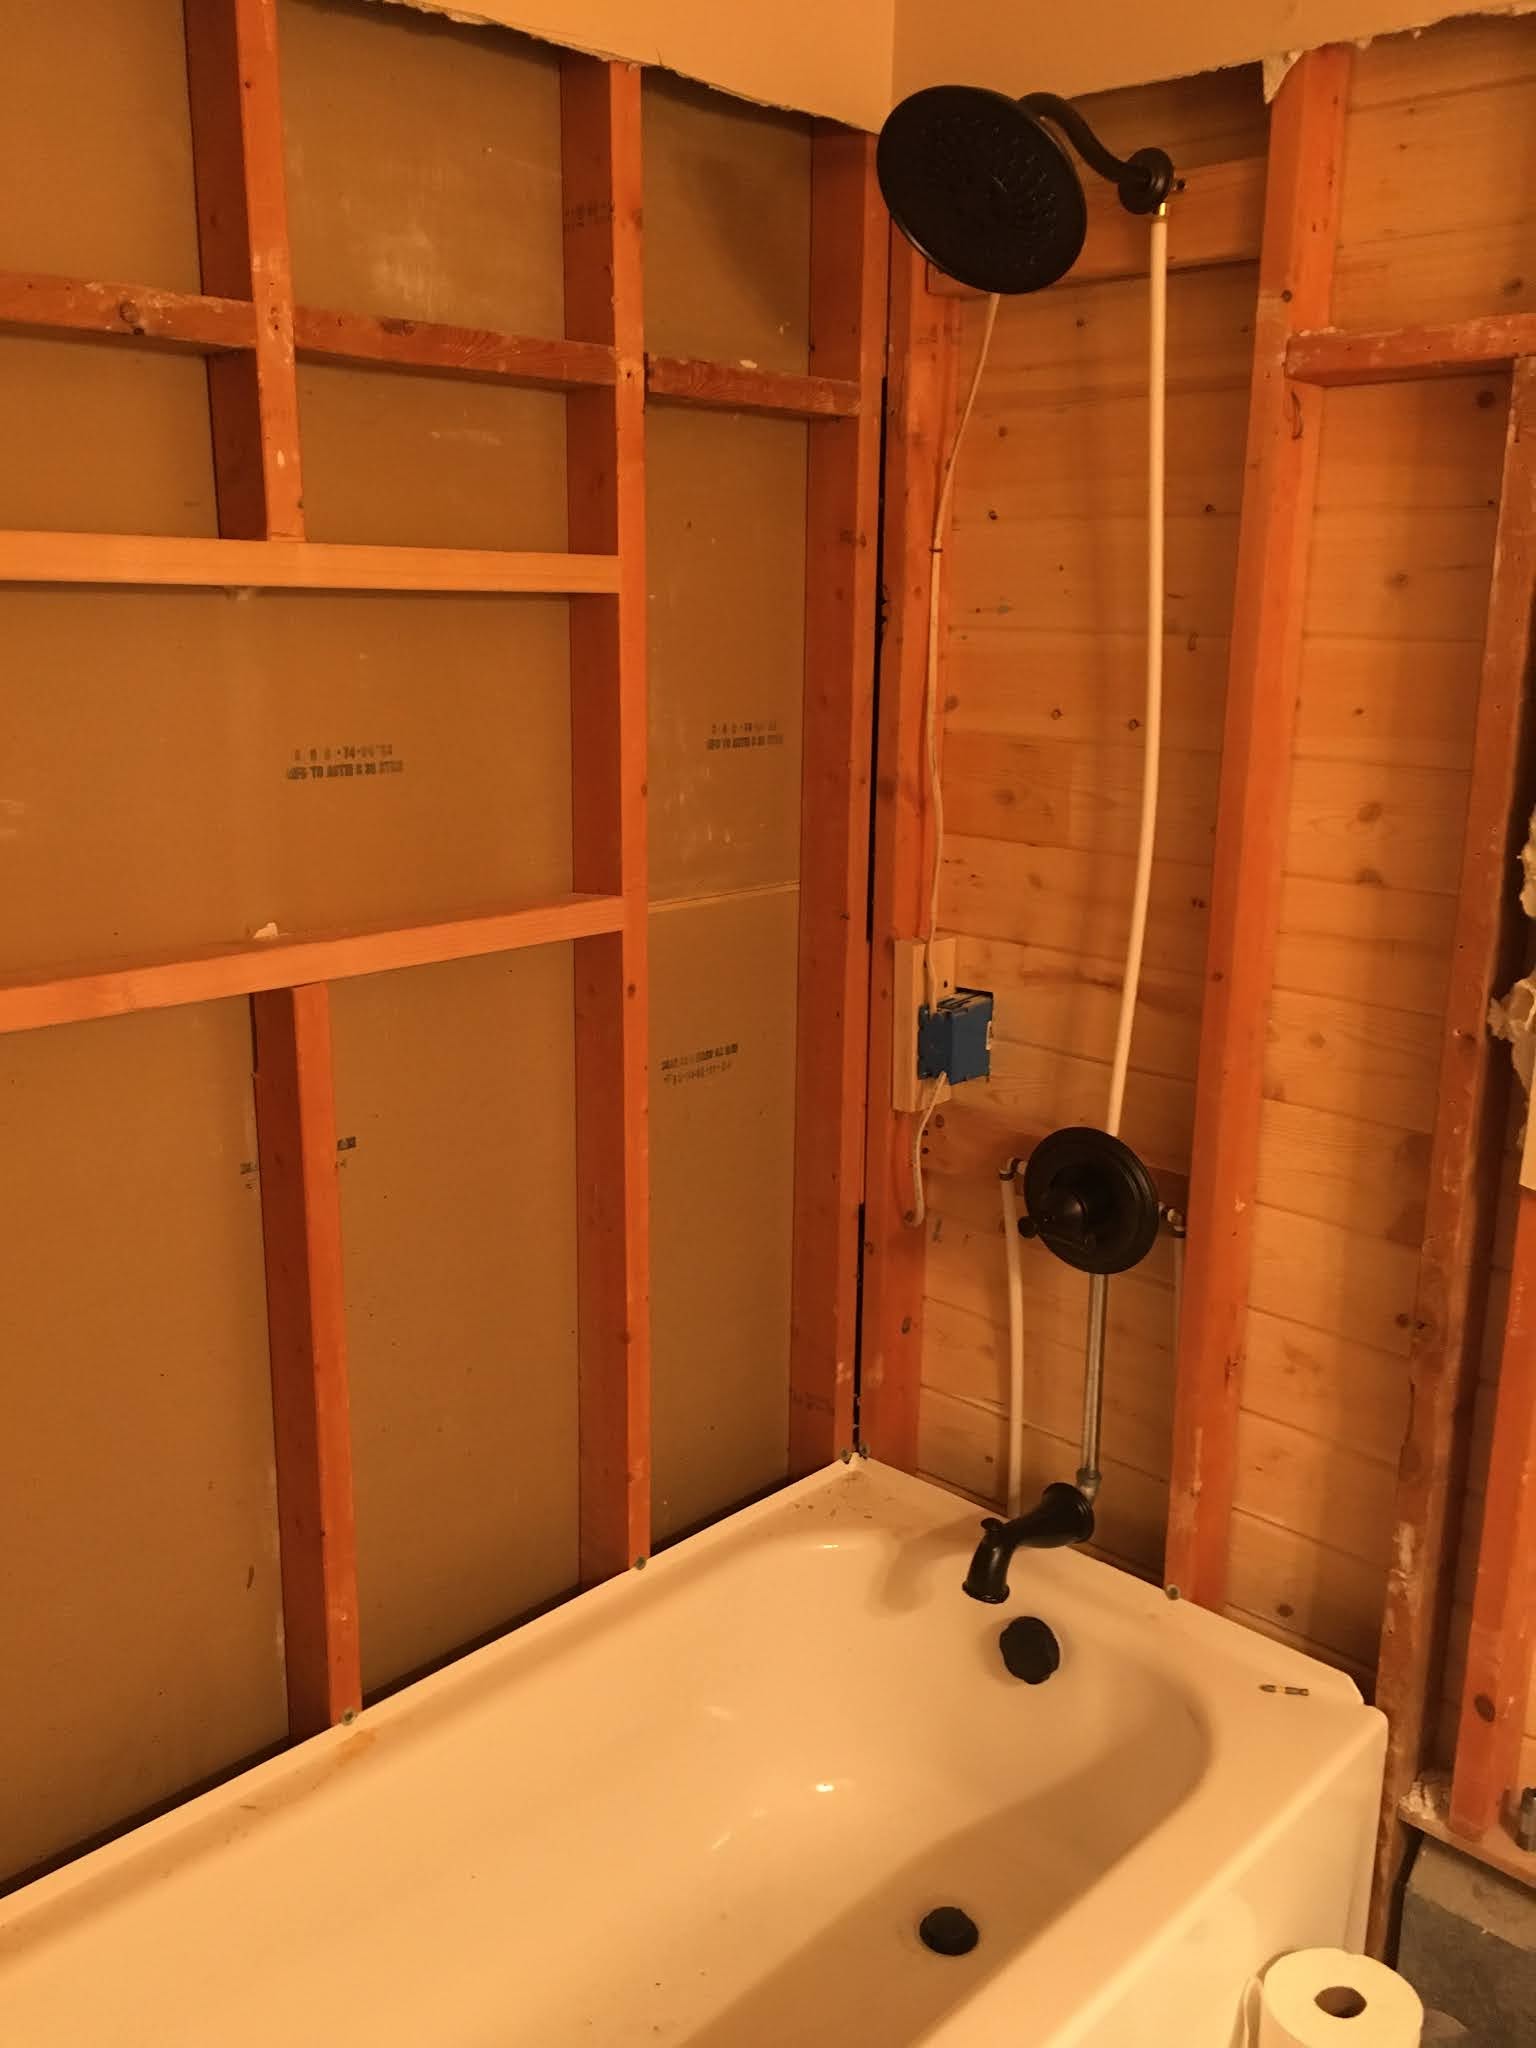
Back to the shower. I ran all of the plumbing lines and installed the fixtures to get exact placements right. They will need to be removed to put up the concrete board and tiles but I want to make sure placement is perfect and there are no leaks before doing that.

Removed the fittings and added concrete boards to the shower. The wife requested a shelf in the shower so I built one in. Fittings readded to make sure everything still fits and works right.

The wife wanted to add tile behind the toilet and around the sink, so the drywall was removed there and concrete board added for those. Also had to redo the plumbing for the sink.

Finished up the concrete board around the sink.
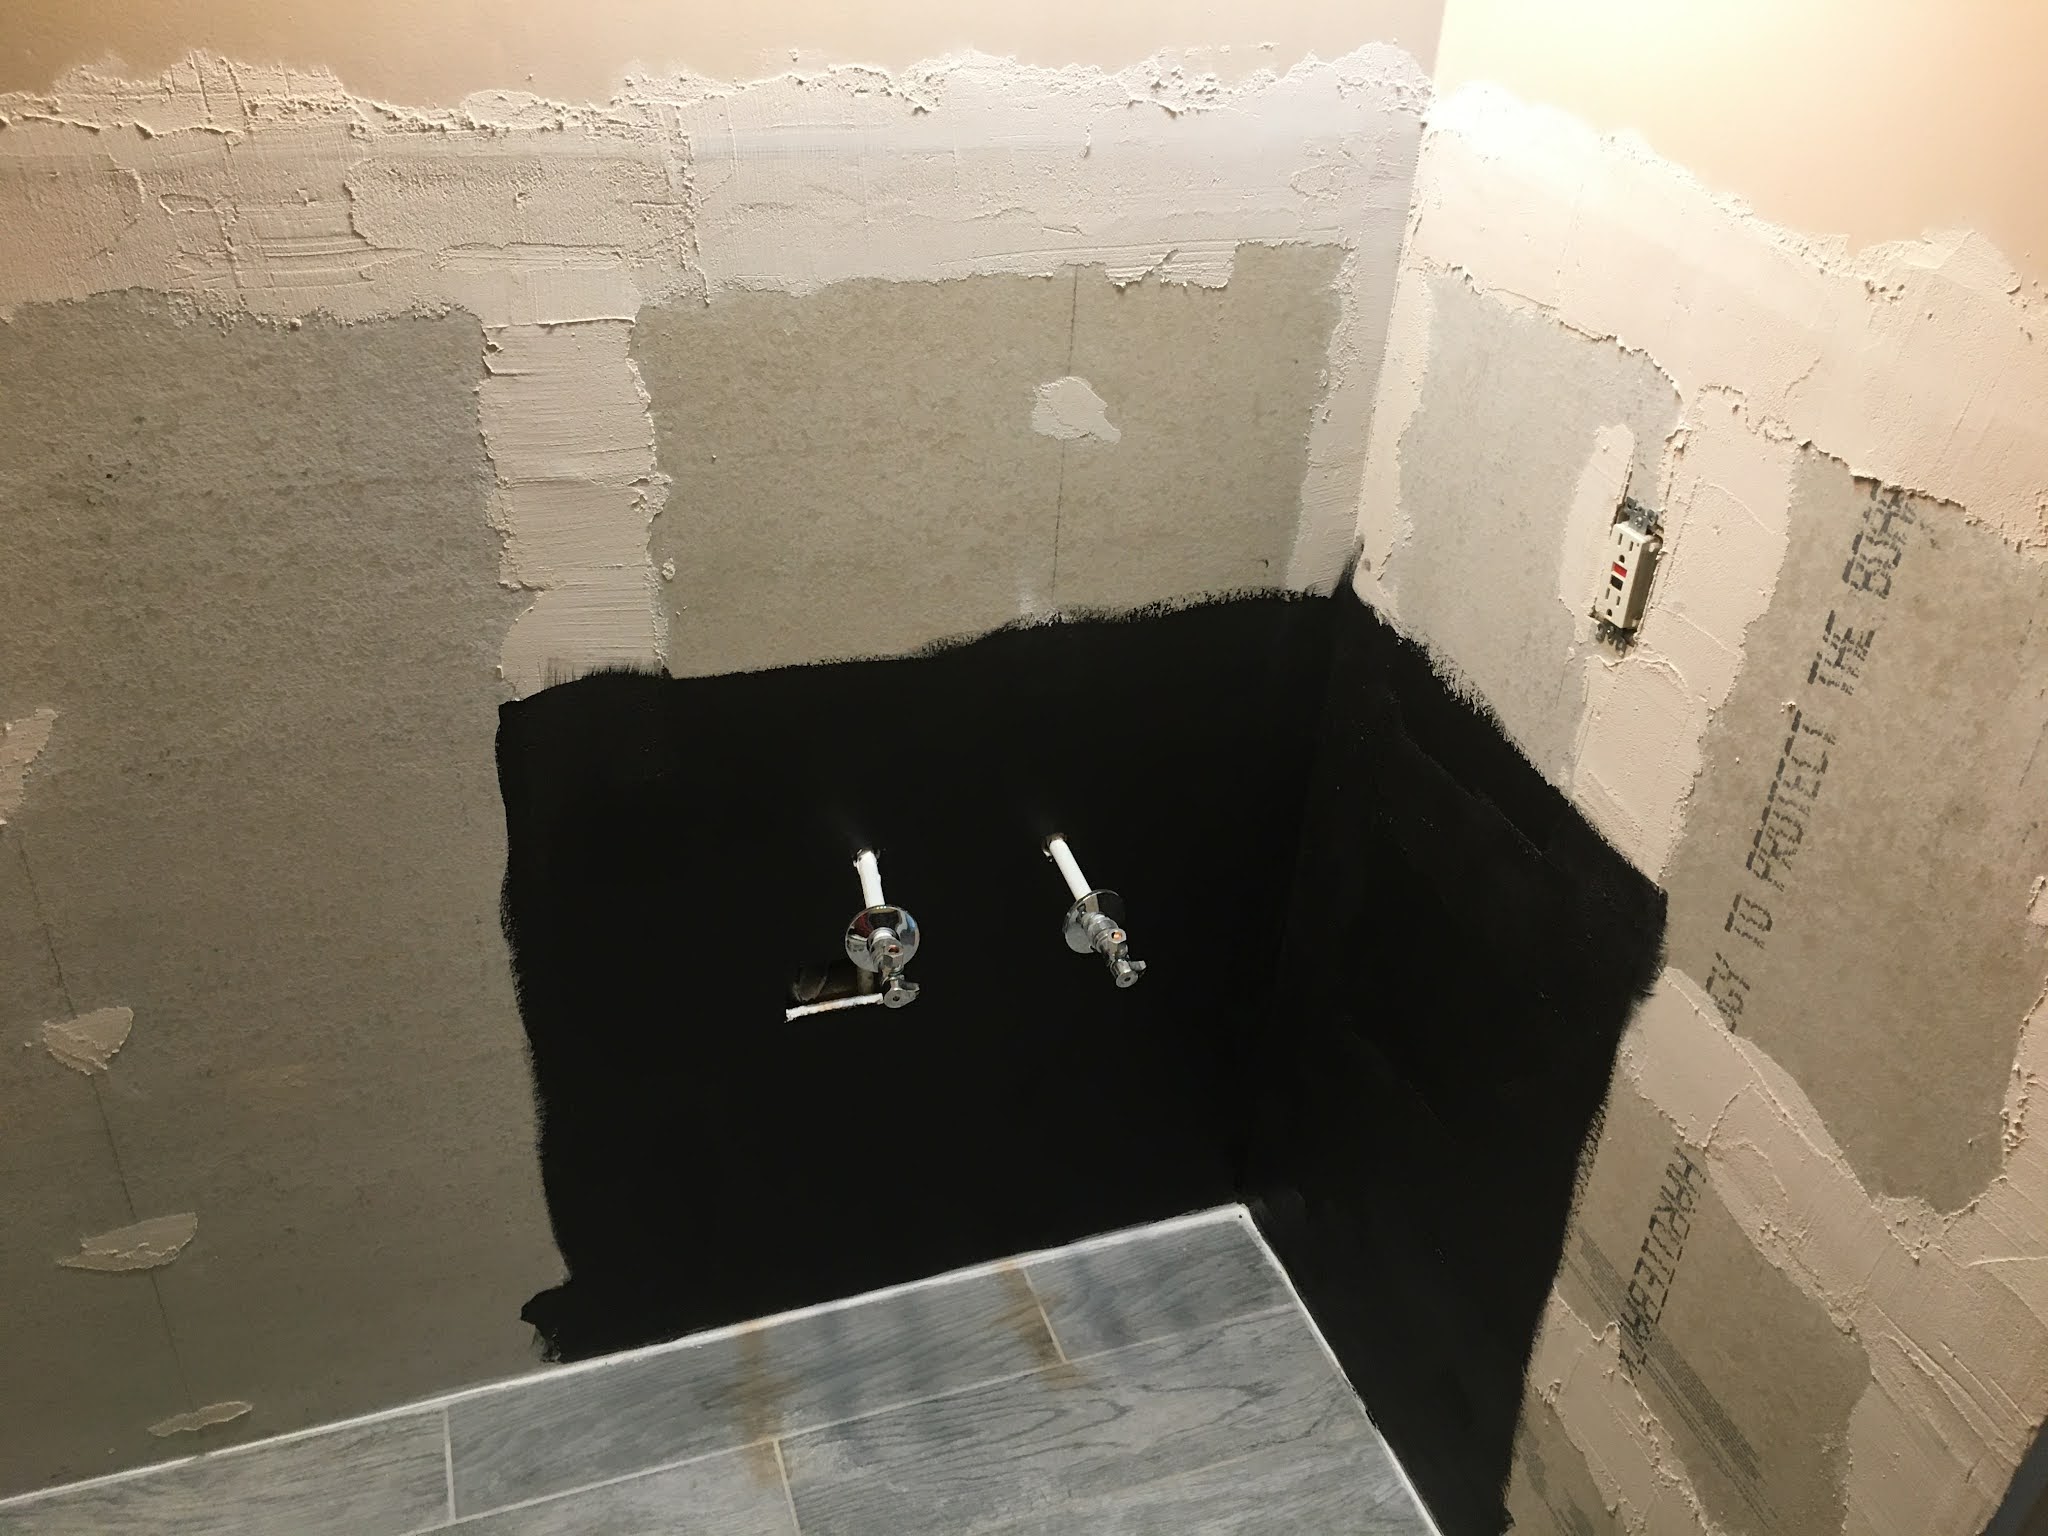
Once the concrete board was "plastered", the vanity we purchased had a hole in the back where the plumbing attached. In order for it to not seem weird, I figured I'd paint the back of the vanity black to tie in. Seems weird of of place.

But once the vanity is installed it works well.

Add the vanity top/

Start to tile around the back of the toilet and backsplash of the vanity. I don't have my tile edger yet so I'm waiting on here and will move on to the shower.

Jumping over to the tub, tiling starts off going fairly straightforward. Just getting up to the shelf level where lots more tile cutting will be needed.

Tiles around the opening.

And starting to tile on the side walls. At this point I needed to wait until I have the edger to finish off the side by the door frame.

With the edger I can finish off the sink area, including tiling the right wall next to the sink.

As well as finishing off the left and back walls of the shower.
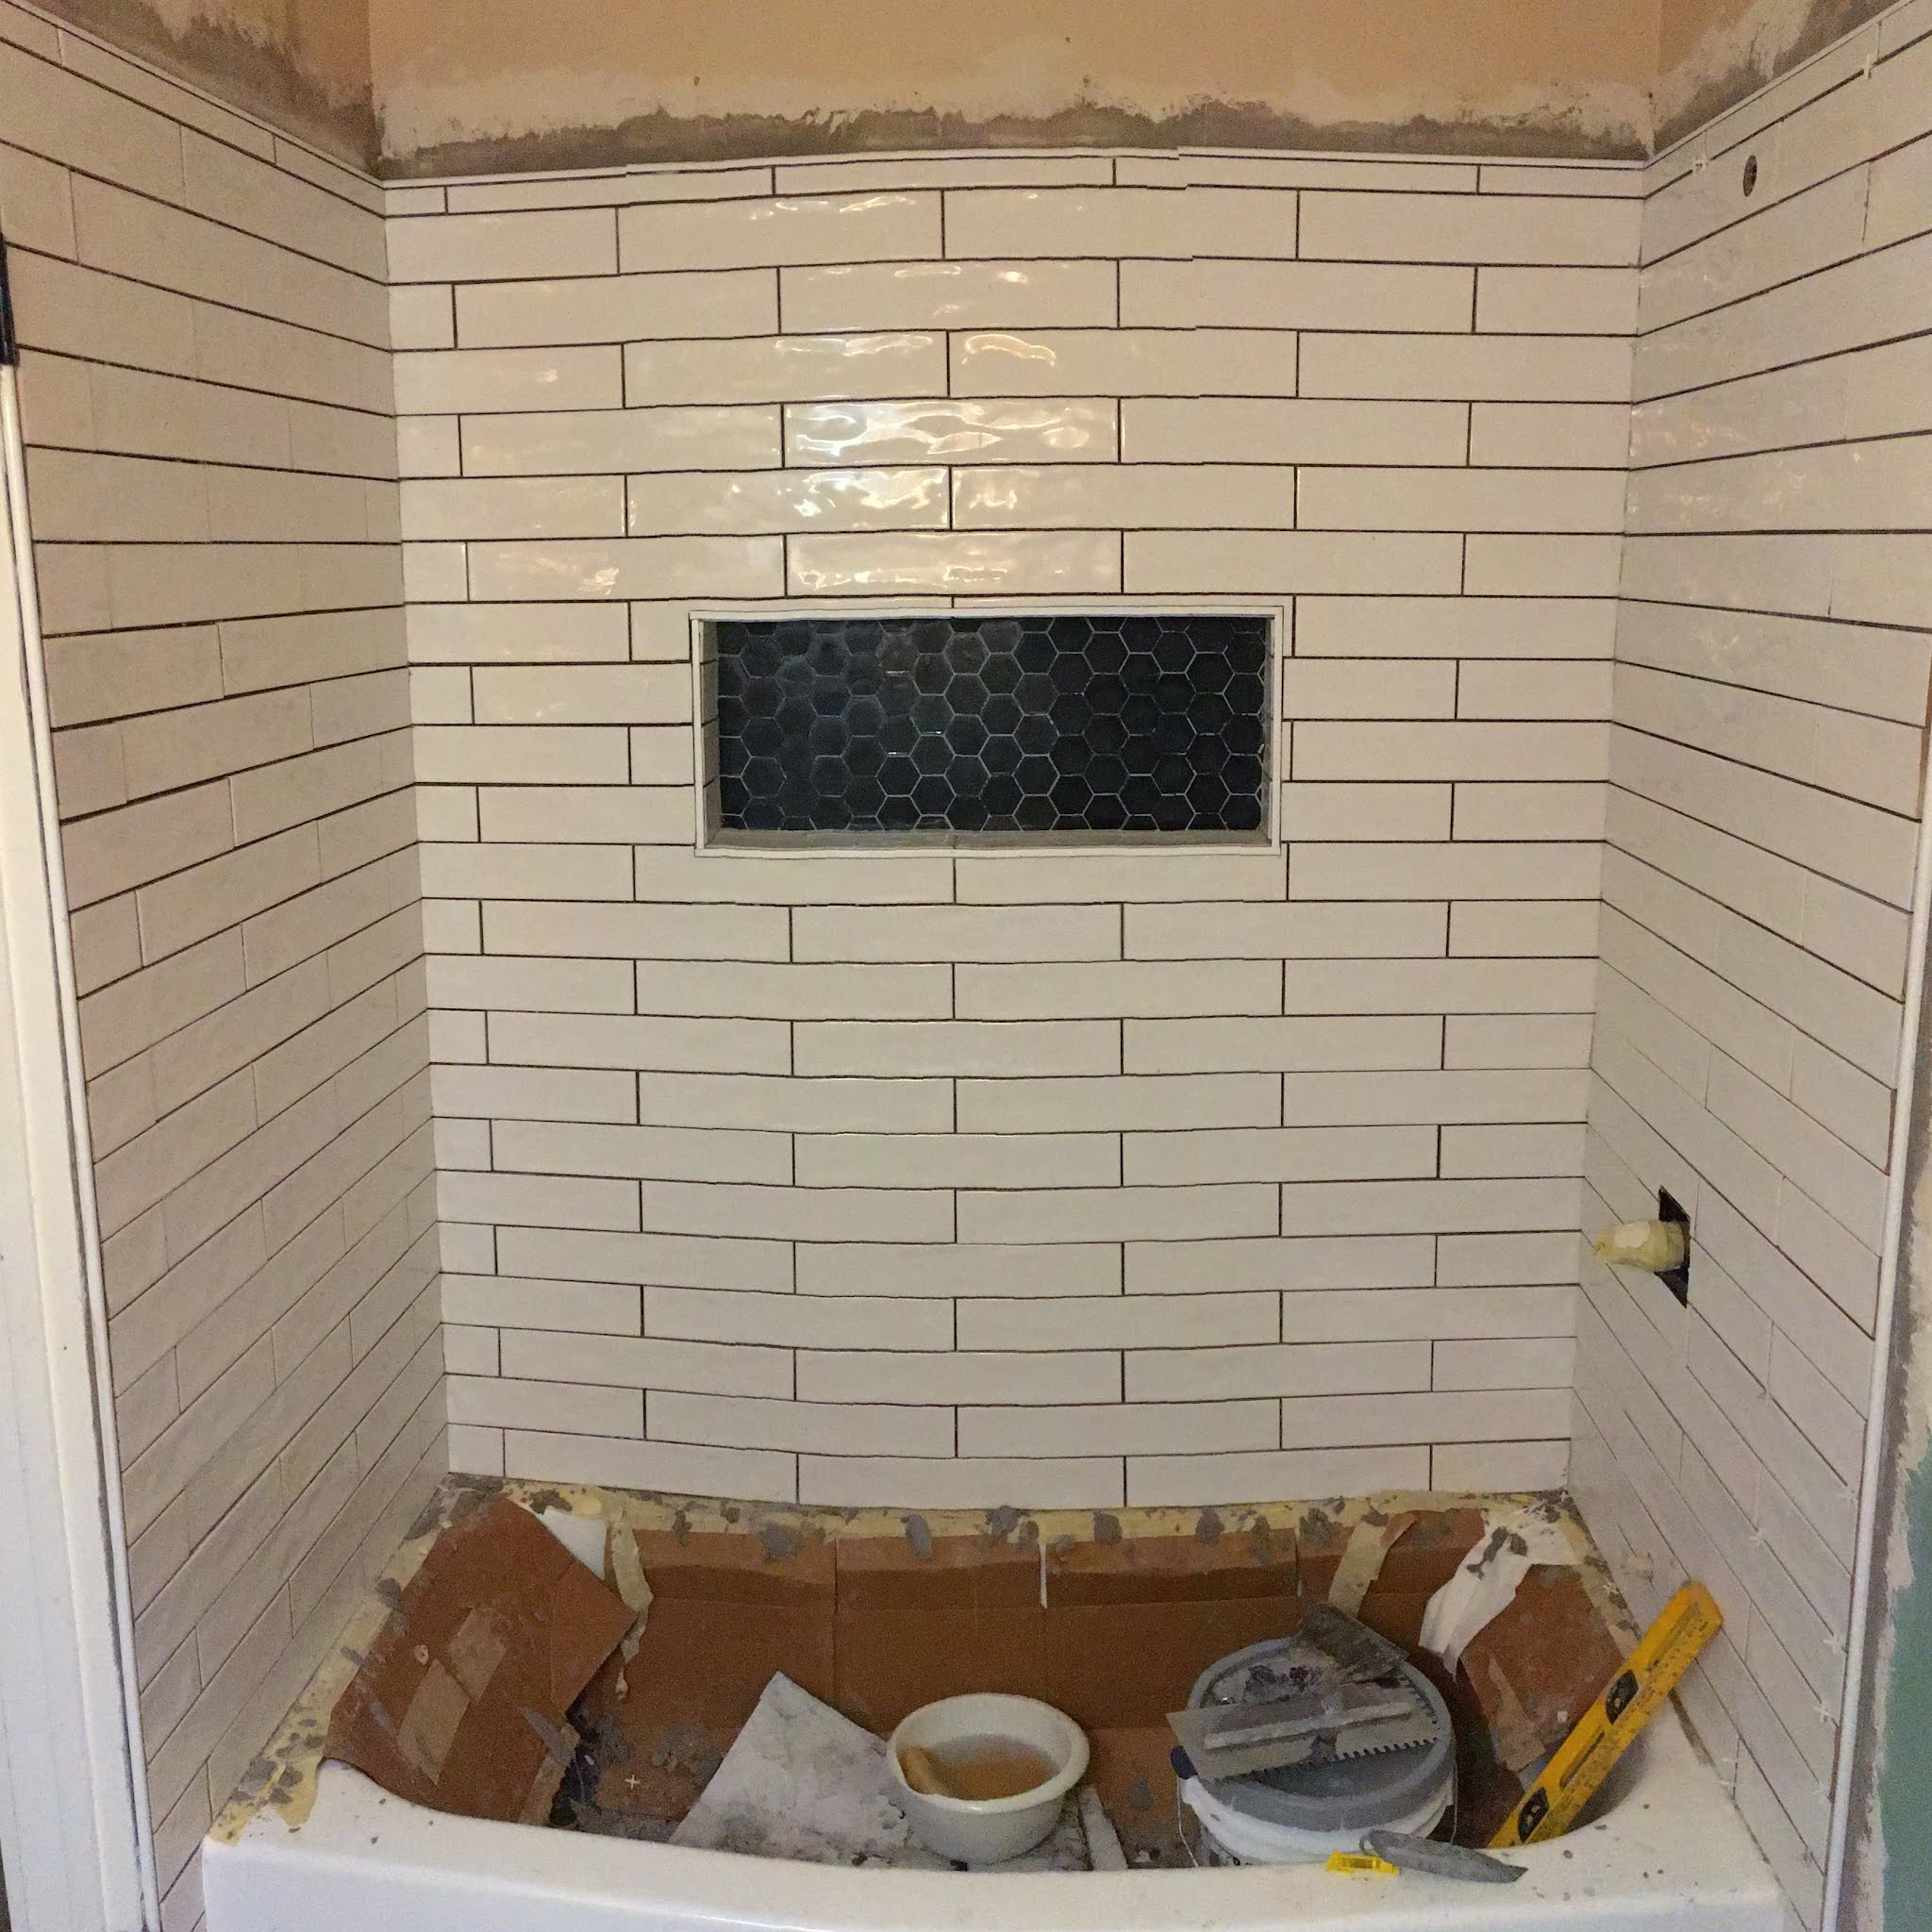
Finished off the last wall on the right as well as put in the shelf accent tiles.

Now is the time for the grout. The wife wanted black grout, which I've never used before. It is a pain to wash off completely. This is after the grout application.

And after 1 complete wash.

And after the second wash.

Shower area also grouted with 2 washes.

And after the 3rd wash, it finally appears clean. The grout is also sealed to prevent the black from running in the future.

Once tiling is done we can paint.

Tub tiles washed for the final time, sealed, and the walls painted.

And the fixtures readded back in.
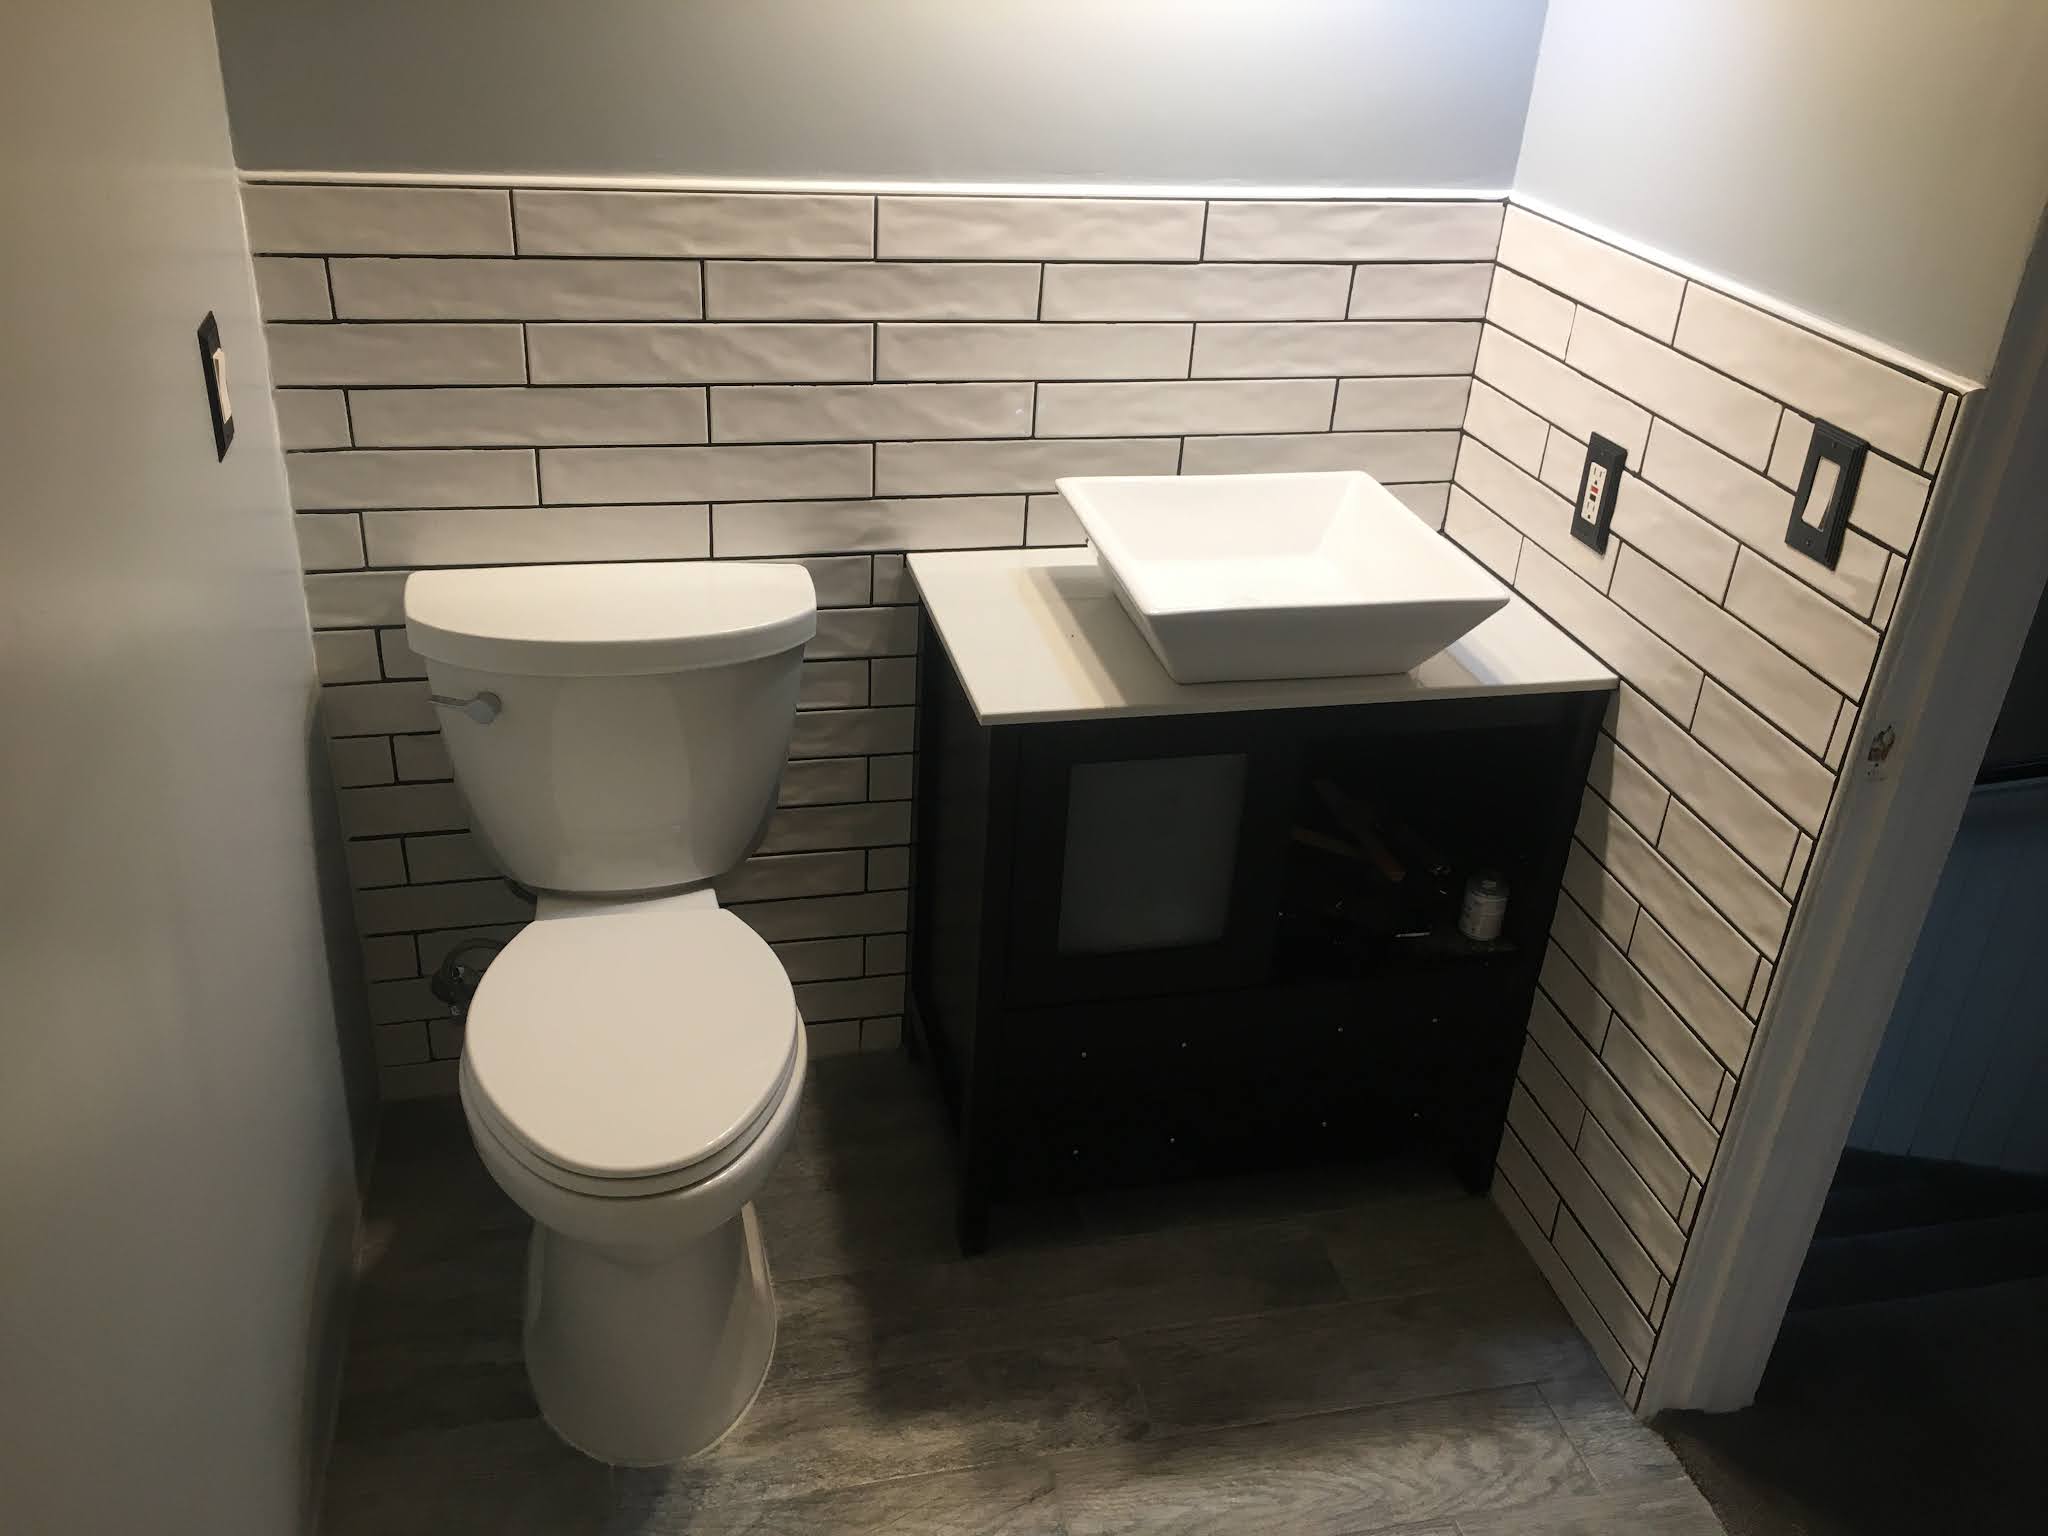
Once painting is done we can start to add the main bathroom features like the toilet and sink.

Sink faucet added and plumbing hooked up.

Starting to piece the last bit of things together.

Water finally hooked back up to the sink.

A tie in from the carpet to the tile. This was eventually stained grey but I don't have a picture of the final version.

And the final shower.

And the final bath with new lights, mirror and towel bars.


